After creating your website, your first concern is how to add a WordPress blog in Google Webmaster Tool. To get more Organic Search Traffic from Google and to convert your traffic into sales, It needs your website to get indexed in Google Search Console.
A Google Webmaster Tool provides you reports about how your website crawled by the search engine. This is a free service, provided by the Google to get status about how your website getting internet traffic. How often your website pages appearing as a result for each search query. you can improve your website appears in the search results using the data given in Google Webmaster Tool. It gives alerts about security issues on your website. In this, you can check crawl errors which are not allowing Google to get indexed your website.
But here’s the catch…
how do you add your WordPress blog in Google webmaster tool? Which method, you should use as a beginner?
Well, this is what I am going to provide you the methods with screen shots. You can easily follow to complete it by yourself.
So, let’s start it.
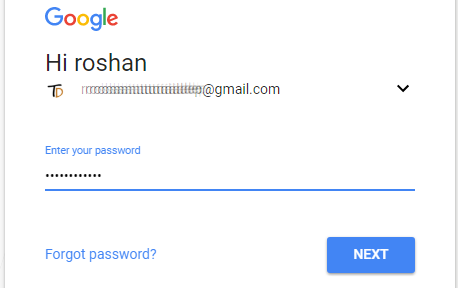
 Step1: Login to Google Webmaster Tool using your Gmail account
Go to the Google Search Console and login to your Gmail account. If you don’t have an account, you need to create one to use this service. Create your account and login using your Gmail username and password.
After login, you will be redirected to this tool. Here, to use all the free services given by Google, you have to first add all versions of your website. These versions are www and without www. You have to show Google that these all versions are your property. It will give you data, when you will get search traffic from www or without www version of your website. Follow the steps and add other version also.
Step2: Click ‘Add Property’ button to add your domain name
On this screen, you have to show your ownership of your domain. To do this, a button is given ‘Add Property’. Click this button.
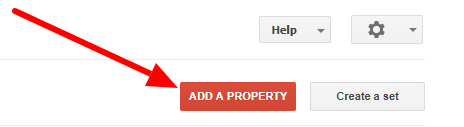
After clicking this button, the next screen will appear where you have to enter your domain name.
step3: Enter your domain name and click ‘Add’ button
This screen requires you to put your domain name. This screen contains the three things, a drop down list, input box and ‘Add’ button. There is no need to select or change the drop down, leave it as ‘website’.
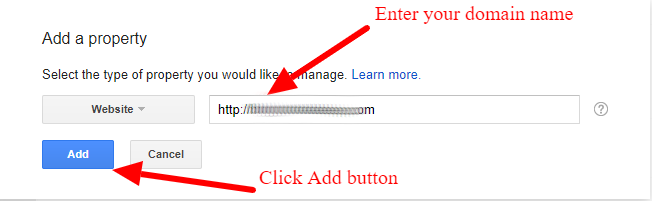
In the input box, Enter your domain name starts with http or https depend upon your protocol. Enter your full domain name and click the ‘Add’ button. This redirects you to a screen, where you have to choose one method of verification of your website. choose a verification method which you find best for you.
step4: 3 easy methods for beginner to verify your website
There are three simple beginner friendly methods you can use to verify your ownership of the website. Select any method you find simple for you to use.
method1: Verify using the Google HTML verification file
This is an upload and verify method where you have to use HTML file given by Google. This method is highly recommended by Google to use.
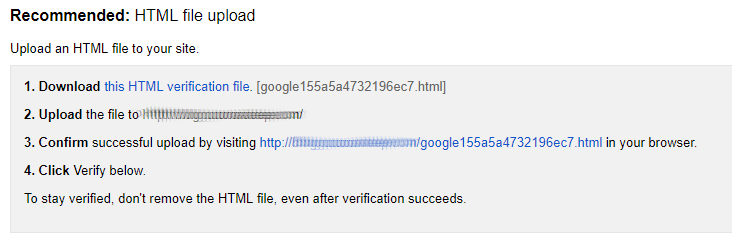
You need to download and upload the HTML file to the base location of your website using FTP. Create your FTP account in your hosting and use FTP software (like Filezilla). Choose a base location when you are creating the FTP. Open Filezilla and enter your FTP username and password to connect with the hosting server.
This will open the file sources, you need to only upload your website and follow the final step.
If you are unable to create FTP account, then contact your hosting provider for help. Mail us at [email protected] for any help.
method2: Copy the meta tag to your <head> section using header.php file
This method needs to copy a meta tag to the <head> section of your website. Copy the meta tag and login to your WordPress admin panel. Go to Appearance>>Editor section and open header.php file. Put this meta tag just above the closing </head> tag.
Follow the final step to verify the ownership of your property.
method3: Yoast SEO plugin: The best way to verify your website
This is the simplest way of verifying your website ownership.
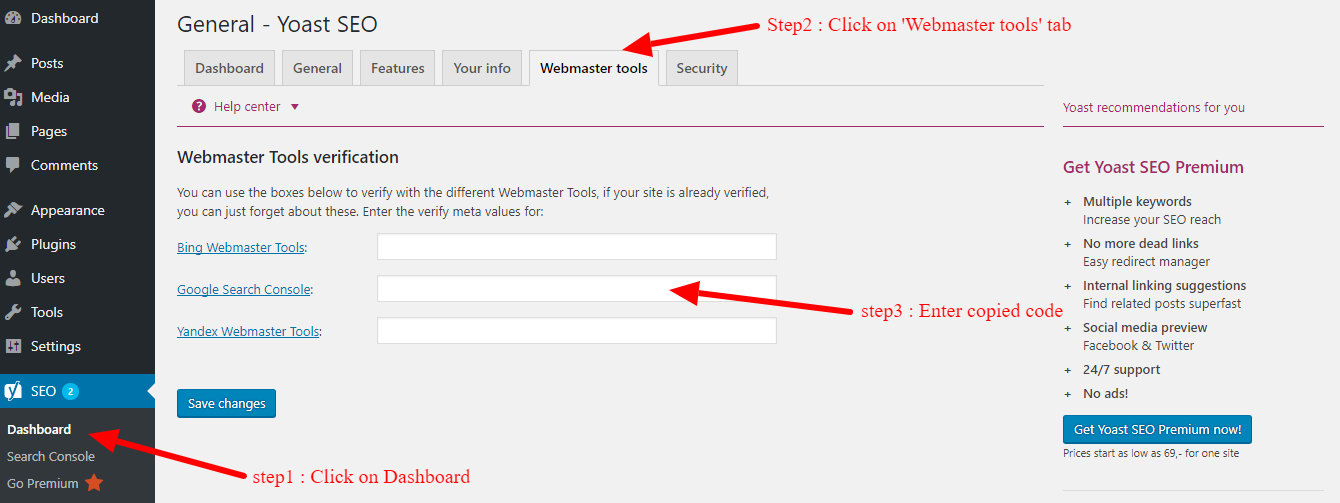
You need Yoast SEO plugin to verify your domain. If you have installed Yoast SEO plugin, then you need to go to the location SEO>>Dashboard. Open the tab ‘Webmaster tool’.
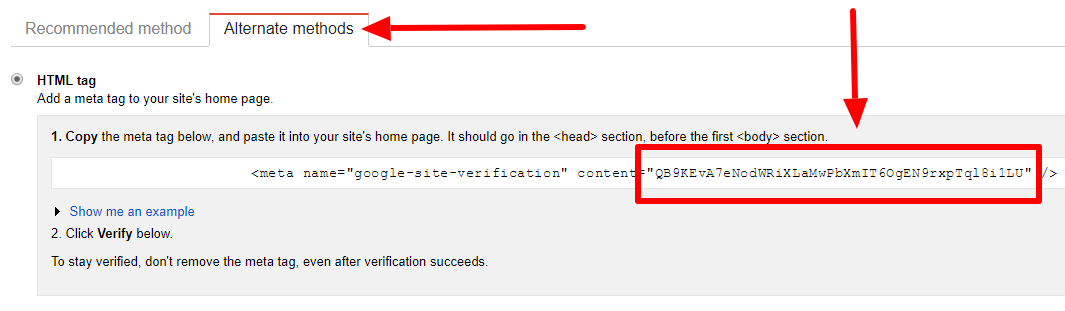
Copy the verification code from the meta tag given in the alternate method tab.
|
1 |
<meta name="google-site-verification" content="verification code" /> |
Paste the code in the ‘Google Search Console’ input box.
Final Step: click ‘Verify’ button to prove your ownership
In this step, you need the click the verify button.

This will give you success message of verification like this.

Click the continue text link to go to the Google webmaster dashboard.
After verification of your website, you need to generate a sitemap of your website and submit it to Google webmaster tool. The submission of XML sitemap helps Google to easily crawl and index your entire website URL’s. In the next post, I provide tips about how to submit your sitemap and index all your URL’s with this. Sign up to our newsletter to get this new post alert when I publish.
If you like this post or you stuck somewhere else, feel free to comment below for any help. You can also mail me at [email protected].