In this tutorial, learn how to write HTML code and execute the program in a web browser. To execute the HTML code, you have to use the simple text editor.
The most recommended and simple editor is Notepad++ to easily create an HTML file and start writing HTML codes.
First of all, you have to install the Notepad++ editor, after that, you can open the editor to write the HTML codes. You will also find out here about how to execute HTML codes on your web browser.
So, let’s start with installing the editor.
How to Install Notepad++ for Windows to Write HTML Code
Here are the steps to follow and install Notepad++.
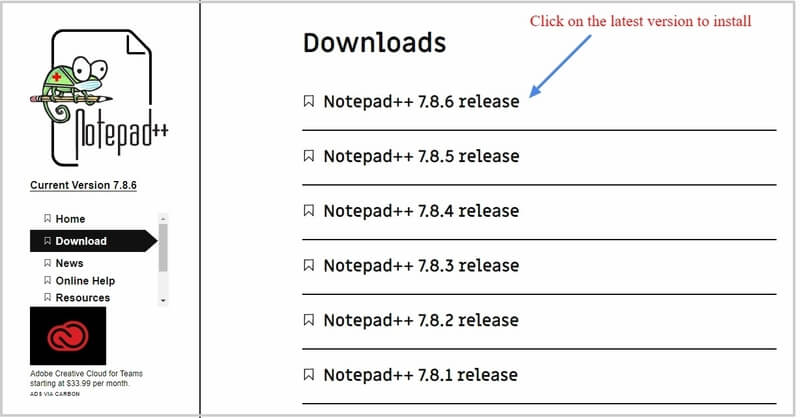
First of all, Open Notepad++ website.
You will get the list of links to download the editor. Click the latest version of the editor to install the latest version on your computer system.
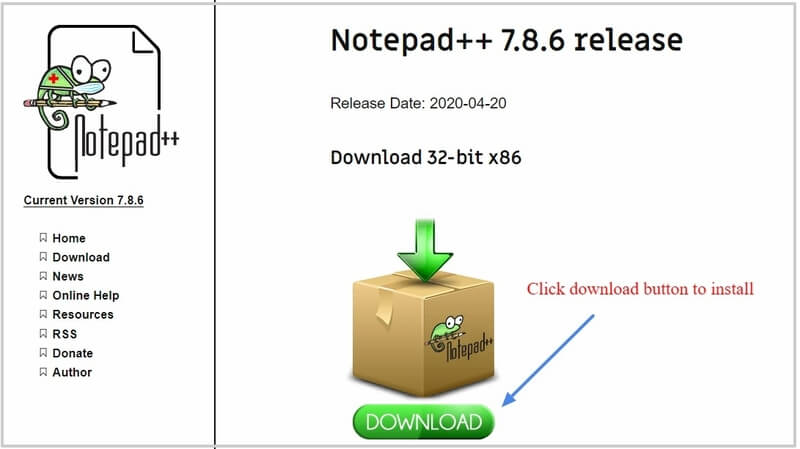
A download button starts appearing and you have to click that button to download the installer. Save the installer on your desktop and wait for few minutes until it gets downloaded completely.
Now, click the setup installer you have just saved on your desktop to start the installation.
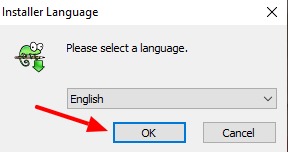
You will get a window where you have to select your local language. ‘English’ is the default language already selected in the window. You can change the language as per your requirement and click ‘OK’ to continue the installation.
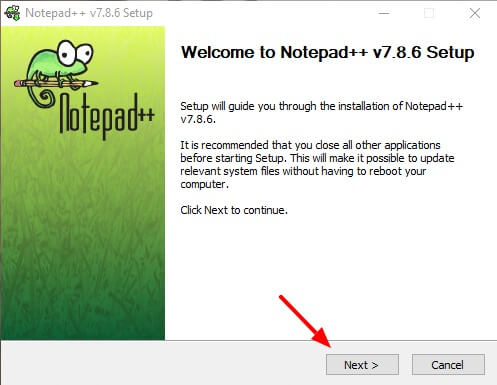
It displays the welcome page of Notepad++ setup installer that installs the editor. Click the ‘Next’ button to go to the next step of the installation.
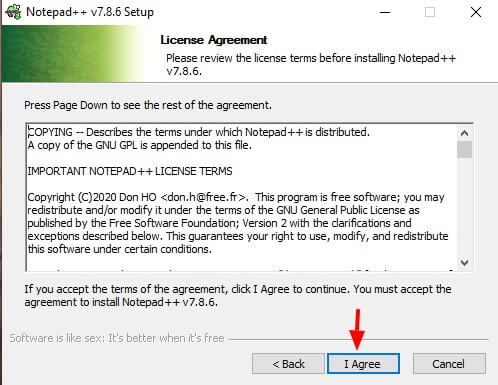
In this step, you have to read and accept the license agreement to continue the installation.
Click the ‘I Agree’ button to accept the license agreement to install Notepad++ on your computer system.
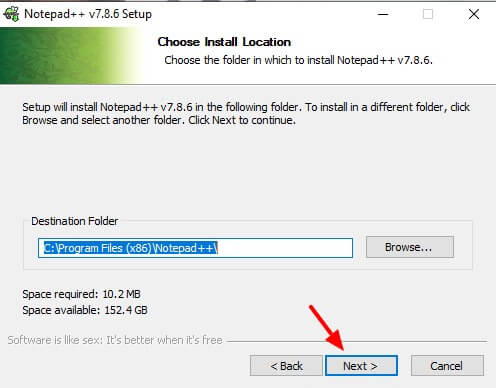
Choose the location of your computer system where the setup will install the editor.
The setup will install the editor on your computer system program files. However, if you want to change the location and install it in a different folder, you have to click the ‘Browse’ button to specify the location.
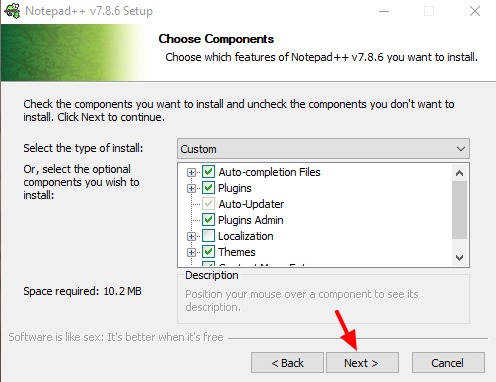
There are various features of Notepad++ which you have to select here by choosing components.
Most useful component is pre-selected, you can check or uncheck the component to specify which component you want to install. After completed selecting the components, you have to click the ‘Next’ button to go to the next step.
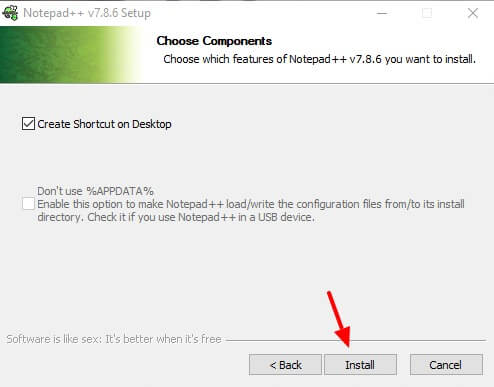
Select the settings as given in the screenshot below. It creates a desktop shortcut on your computer system which is useful to easily open the Notepad++ editor.
Finally, click the ‘Install’ button and wait for few minutes until it completely install the Notepad++ editor.
After the installation gets completed, you can start using the editor to write HTML code.
How to Write HTML Code in NotePad++
Follow the steps given below to create an HTML file and start writing codes.
Step 1: Open Notepad++
To open the Notepad++ editor, you have to press the start button or window button () of your keyboard and type ‘Notepad++’. It displays the Notepad++ software and you have to click the application to open it.
OR
You can also double click the Notepad++ desktop icon you have created above to open it.
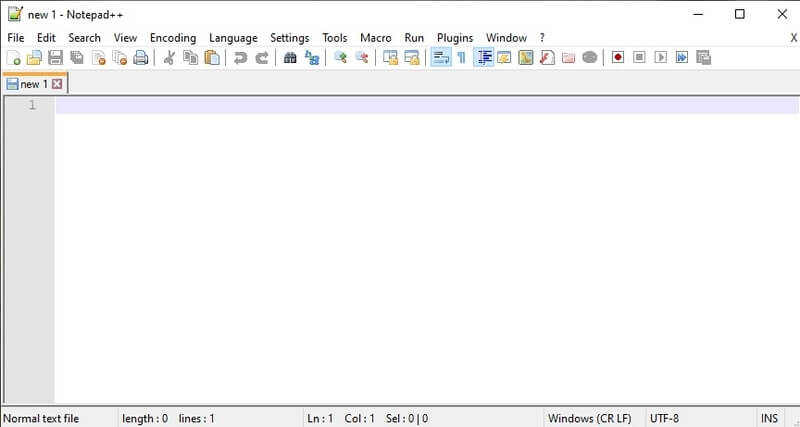
After opening the editor you will get its first appearance as given in the screenshot below.
Step 2: Write HTML Code
Type and start writing your HTML code in the editor. You can also copy the below code and paste it on the editor to create an HTML file.
|
1 2 3 4 5 6 7 8 9 10 11 |
<!DOCTYPE html> <html lang="en"> <head> <title>Simple HTML Example</title> </head> <body> <h1>This is my First Heading</h1> <h2>Simple HTML Example</h2> <p>This is my First Paragraph</p> </body> </html> |
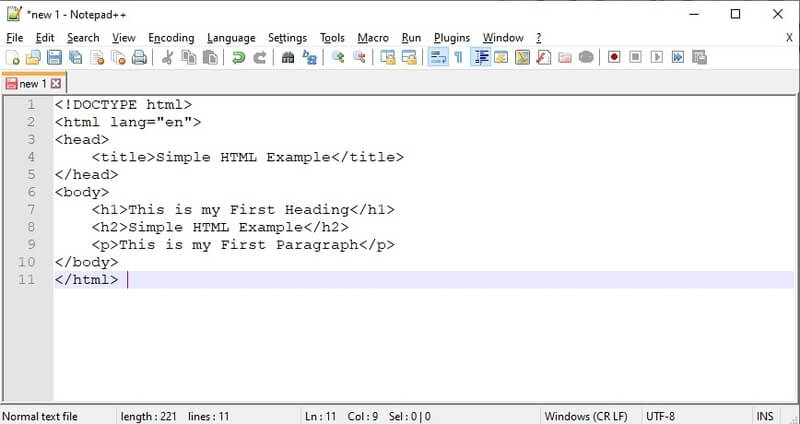
The code will be displayed in the editor as given in the screenshot below. However, it is not the HTML file to display the HTML codes. You have to save that file in HTML extension to make it HTML codes.
Step 3: Save File as HTML
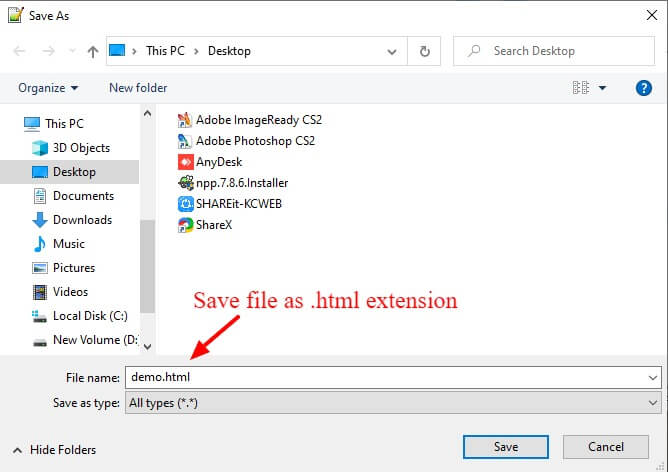
To save the file, you have to open the Notepad++ menu option File >> Save as. This will open the window as given below where you have to provide the location of the file to save.
Save the file as a .html extension and choose the desktop as the location to save.
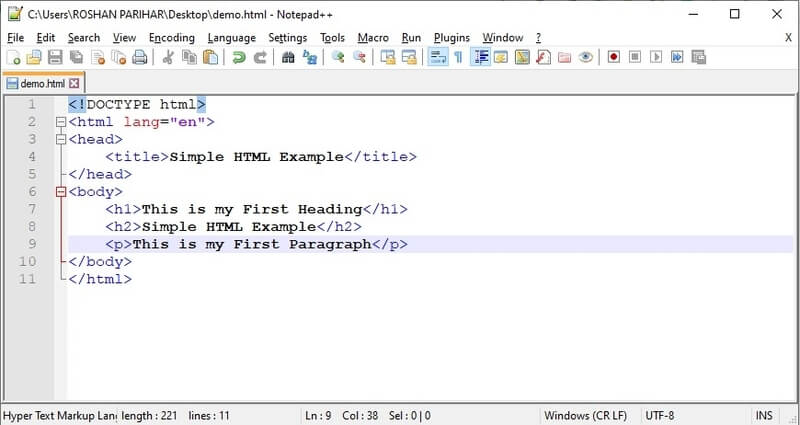
Now, the file becomes an HTML file to display the HTML codes in colored as given in the screenshot below.
It’s time for you to execute the create HTML file in the web browser to display the output.
Execute HTML Programs in Your Web Browser
To execute the HTML file on your browser, you have to double click the file in the location you have saved.
OR
Right-click your mouse button on the file and choose your favorite browser and execute the code.
You will get the output of the HTML file as given in the screenshot below.
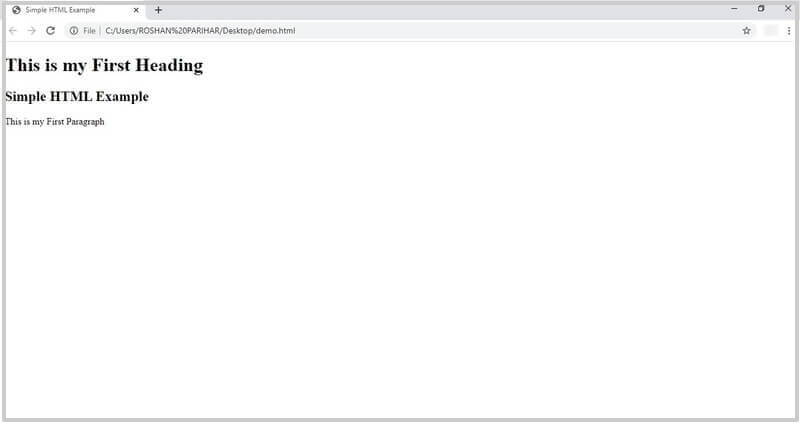
In the above example, I am using the Google Chrome browser to execute the code and display the output.
