Learn how to create a contact form popup on your WordPress website. You can allow your visitors to get in touch with you from anywhere on your website.
The popup can be the more irritating thing for your visitors when you display them everywhere on your website. But, when implement correctly, it can be the more effective way to connect with the audience.
You can quickly collect messages from your audience by using the contact form popup. They just have to fill in their requirement from the place where they are. After that, you can reply to start communication with them and convert them into customers.
But, how you can create a contact form popup on your WordPress the right way? What are the best tools you have to use to make your popup effective and not irritating to the audience?
In this tutorial, you will get the trusted tools with the step-by-step process of creating a contact form popup. So, let’s get started.
How to Create Contact Form Popup in WordPress (Step-by-step)
Here is the step-by-step process on how to create a contact form popup in WordPress:-
Step 1: Choose the Best Contact Form and Popup Plugin for WordPress
First of all, you have to choose the best contact form and the popup plugin to create a contact form popup for your WordPress website.
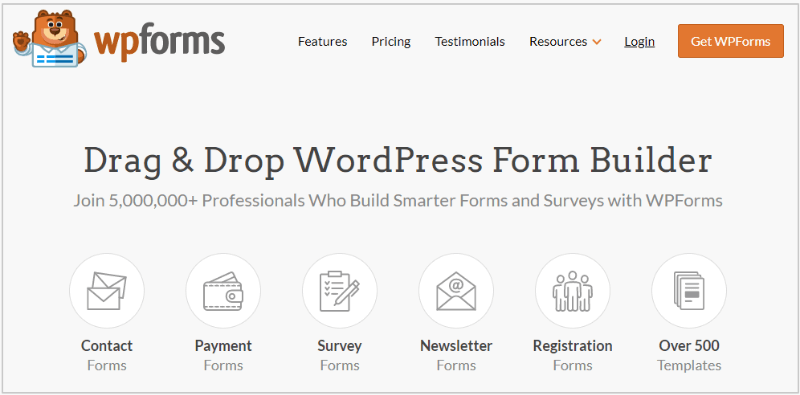
After trying and testing the best contact form plugins for WordPress, I recommended WPForms to our readers. It is the most popular and trusted by more than 5 million users worldwide. With this plugin, you can easily create a contact form for your WordPress website.
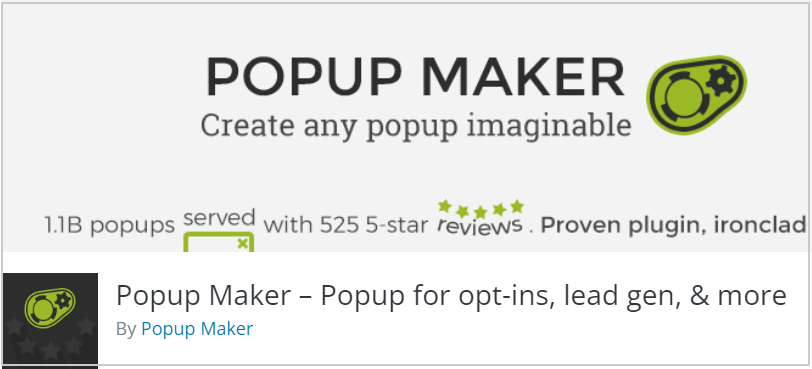
After you create the contact form, you have to use the popup plugin to place it in the popup. Popup Maker is the most useful plugin trusted by more than 7 lakh users to create popups for their websites.
So, there are two plugins that you have to use to create a contact form popup for your WordPress website. These plugins are given below:-
- WPForms Plugin
- Popup Maker Plugin
Step 2: Create a Contact Form with your Selected Plugin
Now, let’s create a contact form using the WPForms plugin for your WordPress website. Rather than duplicating the content for creating the contact form, I am giving the post URL containing the step-by-step process on it. Read the guide whose link is given below.
Read Guide: How to Create Contact Form with WPForms in WordPress
After following the above guide, you have to come back to this post to read and follow further steps on creating a contact form popup.
Step 3: Install Popup Make Plugin on your WordPress Website
Now, you have a contact form created on your WordPress website in the previous step. In this step, you have to create a popup where you can place your contact form to display in the popup. It requires some setting options to properly set up a popup on your WordPress website.
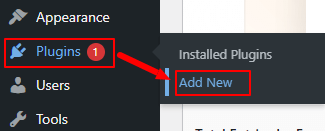
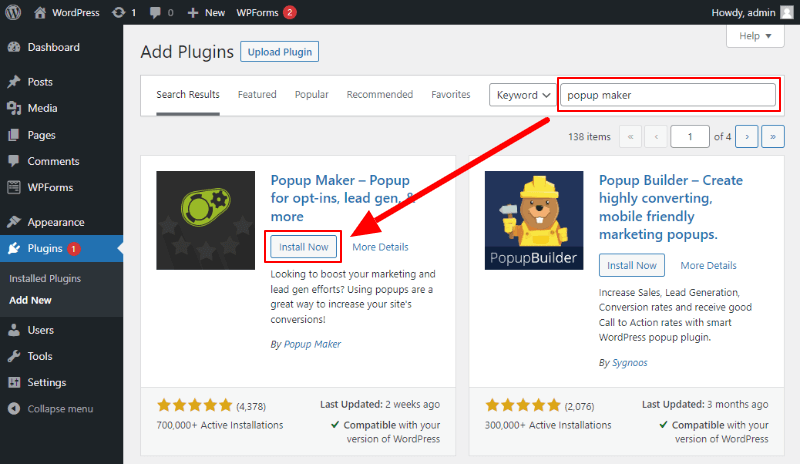
You have to install the Popup Maker plugin on your WordPress website to create a popup for your contact form. To install the popup maker plugin, go to the WordPress dashboard menu option Plugins >> Add New.
It will take you to the admin page where you have to search for a plugin to install. To get the Popup Maker plugin, enter the search term ‘Popup Maker’ in the search input box as indicated below.
You will get the plugin as shown below where you have to click the ‘Install Now’ button to install the plugin.
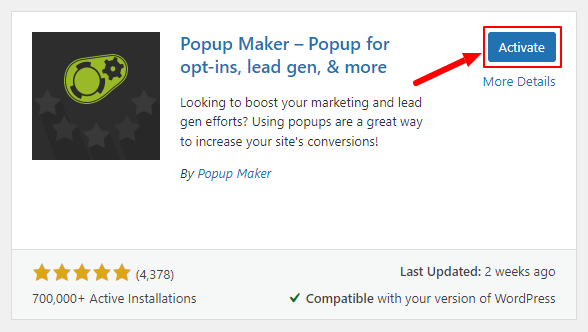
After that installation, you have to activate the plugin to make it work on your WordPress website.
Step 4: Create a Popup and Add a Contact Form
Now, you have the popup maker plugin installed and a contact form created on your WordPress website. Let’s create a popup and add a contact form to it.
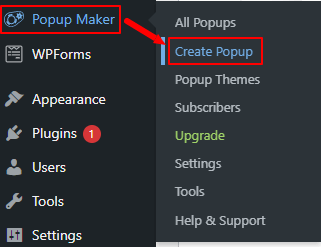
To create a popup, go to the WordPress dashboard menu option Popup Maker >> Create Popup.
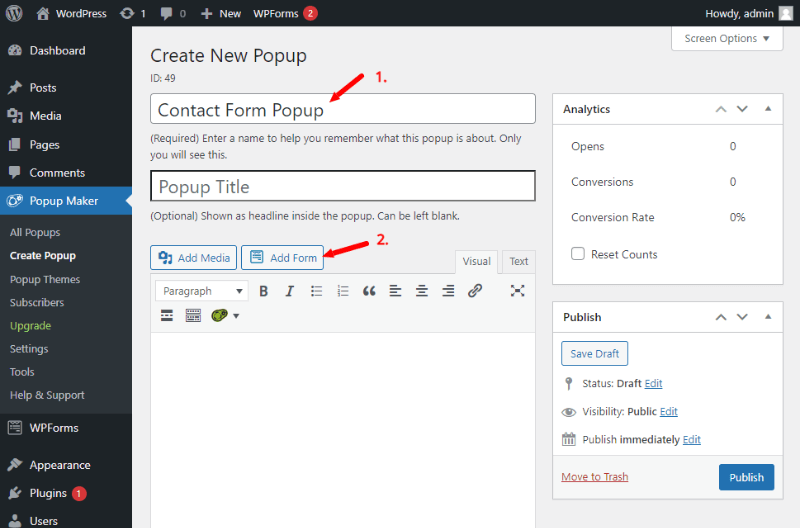
It will take you to the create new popup page where you can create a new popup for your WordPress website. Enter the name of the popup as shown in the image below. To add your created contact form to it, click the ‘Add Form’ button
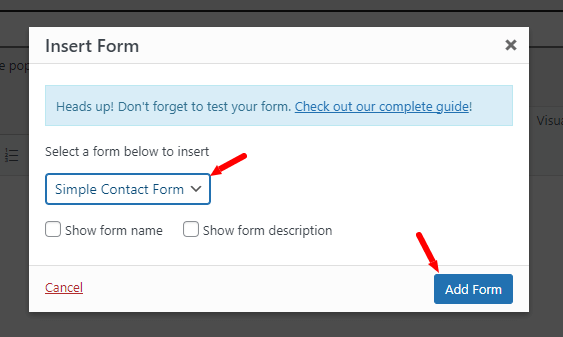
You will get the list of forms to select and insert into your popup. As you have already created your contact form, you can select it from the list and click the ‘Add Form’ button.
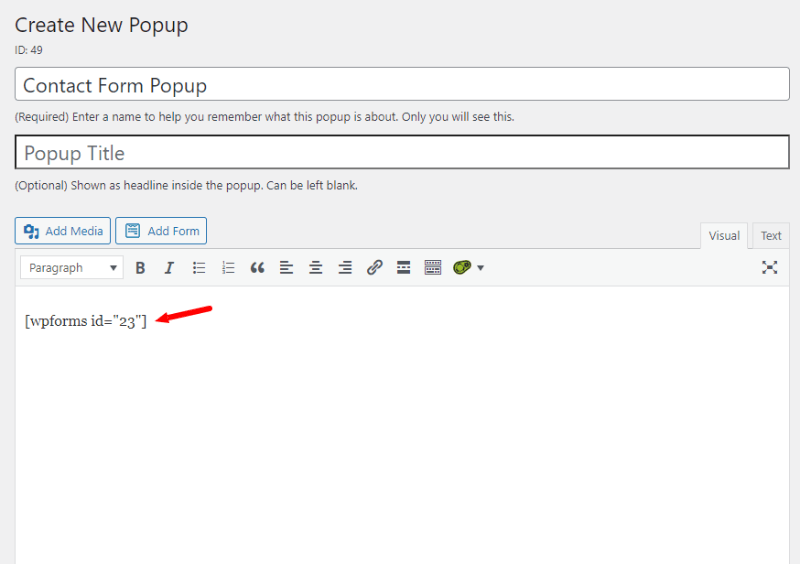
The contact form gets added to your popup using the shortcode shown in the image below.
Step 5: Make Popup Settings to Display on your WordPress Website Pages
Now, you have to make some popup settings required to display the contact form popup on your WordPress website correctly. So, let’s do it.
Scroll down the page where you are creating a popup to get the setting options.
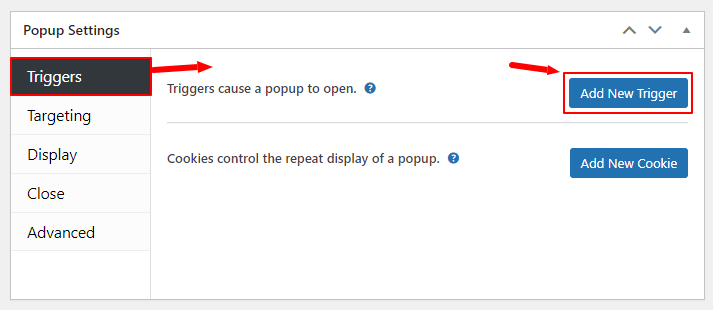
Make Popup Trigger Setting
Firstly, you will get the trigger setting options to trigger the popup on some events. Here, click the ‘Add New Trigger’ button to get the trigger options.
You will get trigger options like Click Open, Time Delay/Auto Open, and Form Submission. Let’s trigger the popup auto-open to open the popup automatically on the page open.
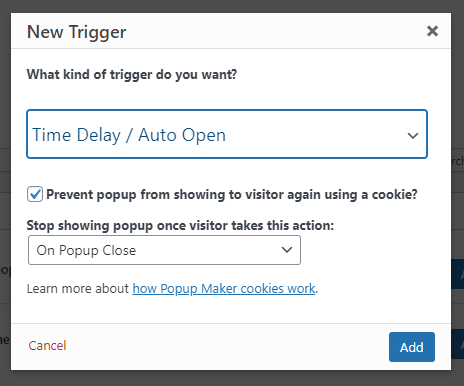
Next, you can set the time delay to open the popup after a few milliseconds. Also, enter a cookie name to display the popup only a single time.
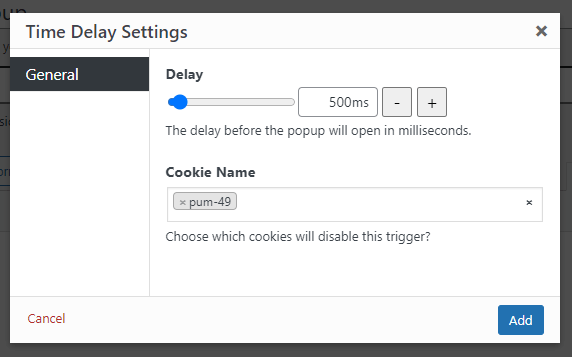
When you have done the trigger setup, you will get the type of trigger and event shown in the image below.

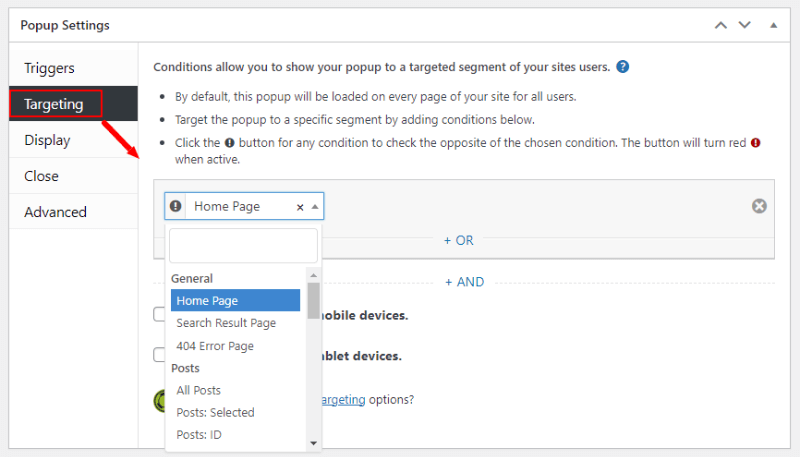
Targeting Setting
In the targeting setting, you have to select the page where you want to display the contact form popup. You can select single or multiple pages or all pages to display it.
Let’s select the homepage to display the contact form popup on the homepage. However, you can select other page options also to display the popup.
Display Settings
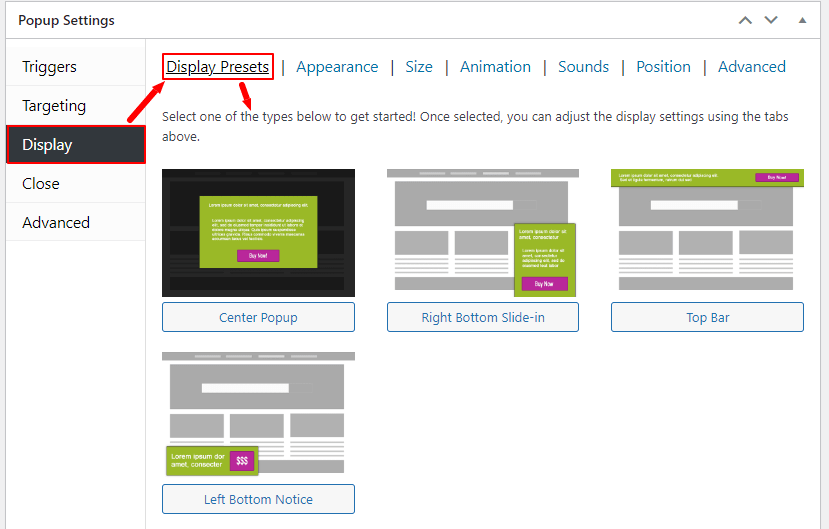
Next, is the display setting where you can make the setup of how you have to display the contact form popup on your WordPress website.
Click the ‘Display’ setting option to get the display setting option. Here, the first tab you will get is the preset setting. These are the type of popups you want to display.
Let us select the ‘Center Popup’ option to display the popup at the center of the screen.
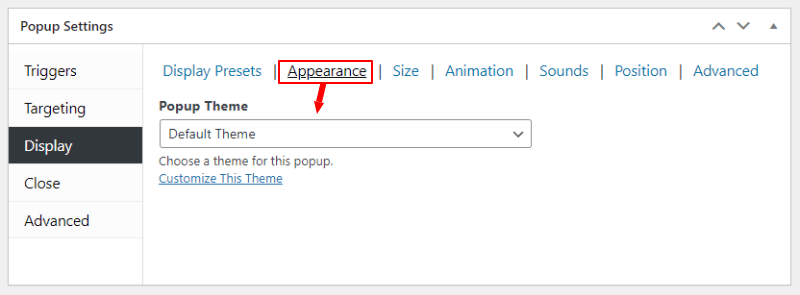
The second tab is the appearance setting where you set the theme for your popup. If you do not select the theme, it will use the default theme for the popup.
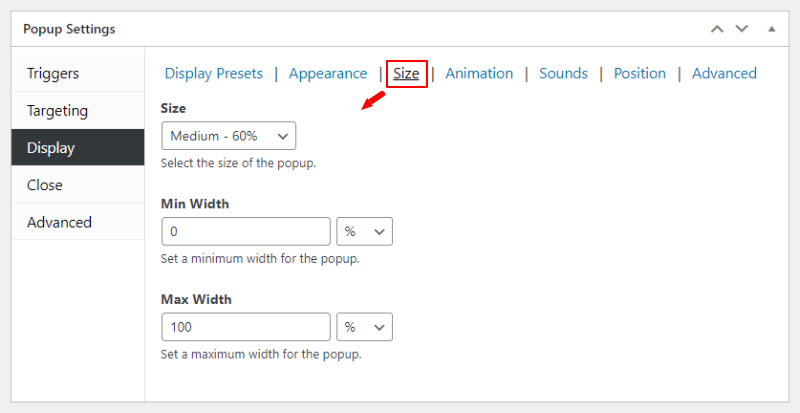
The third display setting tab is the size of the popup. You can set the size with the minimum and maximum width of the popup.
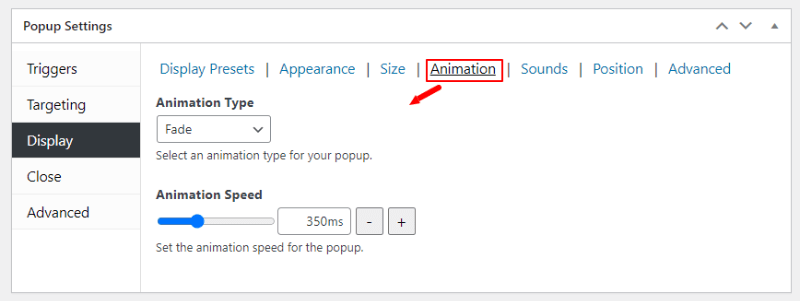
The fourth tab is the animation where you can set up the animation type and speed of the animation for your popup.
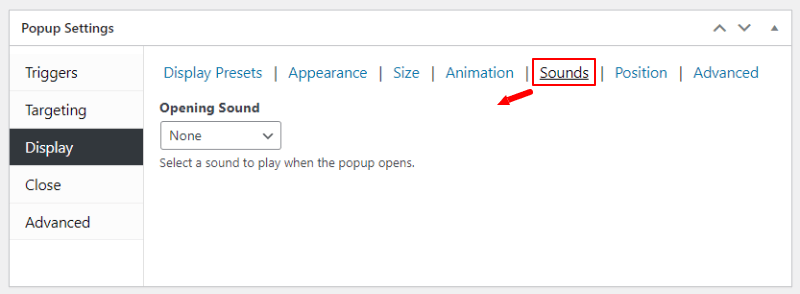
The fifth is the popup sound at the time of display of it on your WordPress website pages.
If you want to align the popup on the screen, you can set up this position setting of the display.

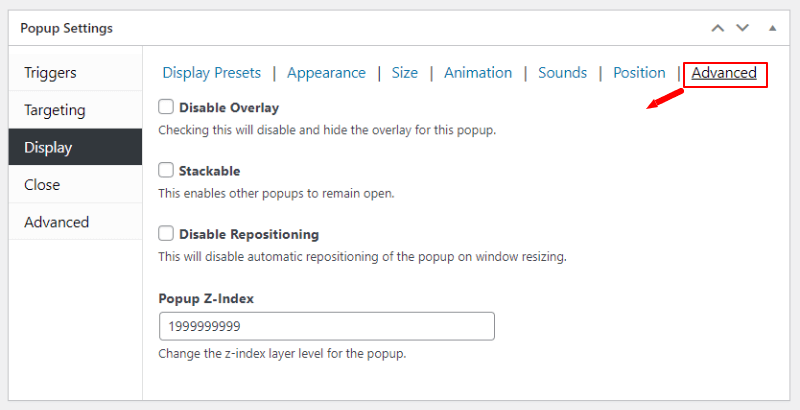
The advanced display setting is useful to make settings like overlay, z-index, etc.
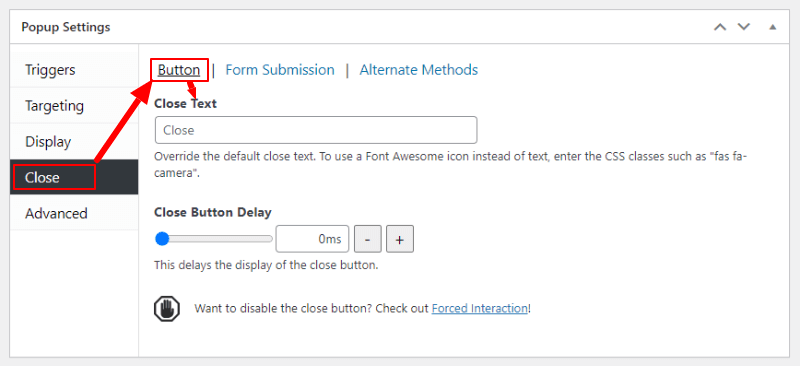
Close Button Settings
To make the setting of how you want to close the popup on your WordPress website. Enter the text of the close button and the delay to close the button.
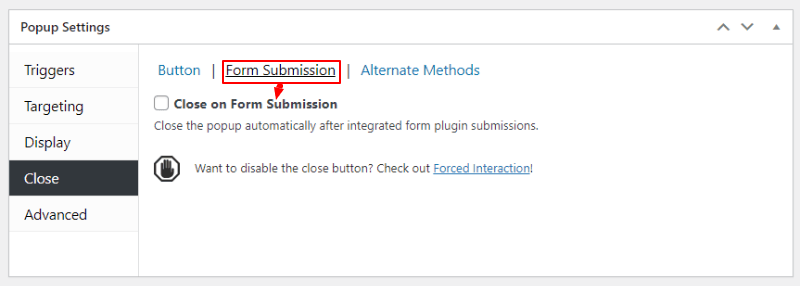
If you want to close the popup on form submission, you can enable the below setting checkbox.
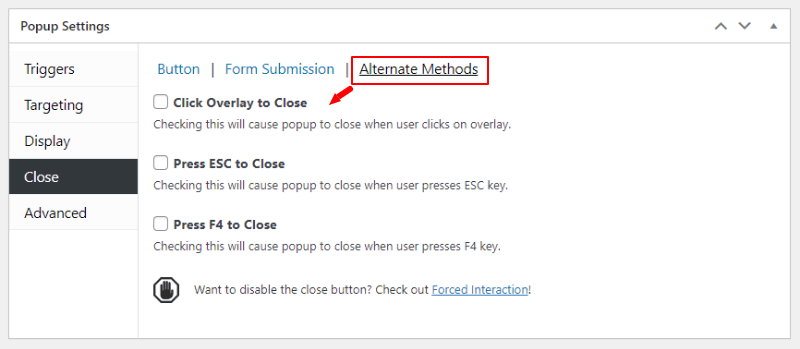
The alternate method to close the popup also allows users to on the escape button click and the F4 button clicks of a keyboard.
Advanced Settings
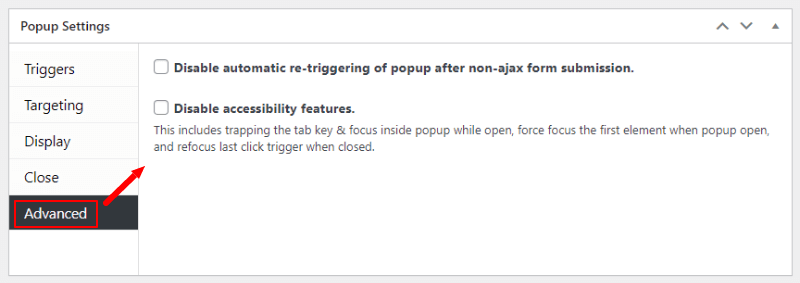
The advanced setting options can help you disable the automatic re-triggering of the popup after non-ajax submission and accessibility features.
Step 6: Publish Popup Contact Form on your WordPress Website Pages
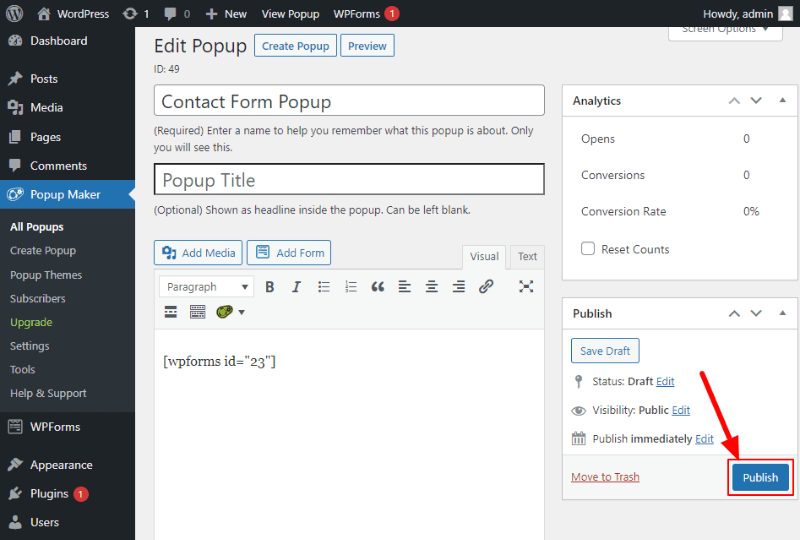
When you have done with all the above setup, your contact form popup is ready to publish to display on your WordPress website. To publish the popup, you have to click the ‘Publish’ button to publish it.
Now, open your WordPress website page where you have set up to display it. As per the above steps set up the homepage to display popups. So, when you open the homepage of your WordPress website, you will get the popup contact form as shown in the image below.
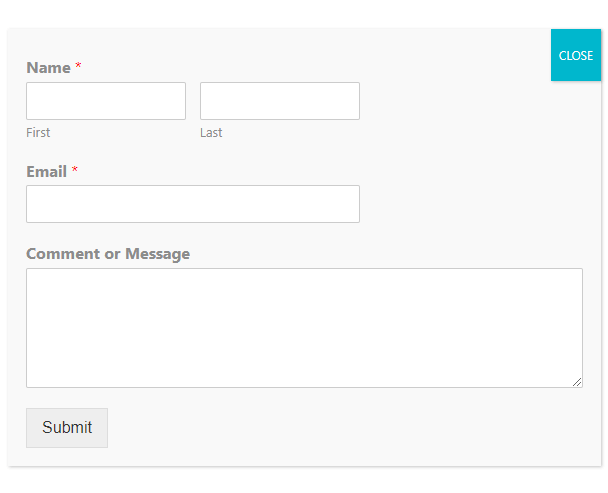
The above popup uses to default theme that’s why it looks simple. However, you can change the theme in the display setting given in the 5th step.
That’s all about the popup contact form in WordPress.
If you have any queries regarding the above step-by-step process, please comment below.