Last Updated on January 22, 2023 by Roshan Parihar
In this post, Learn to create a contact form in Wufoo and add it to your website. You can quickly start with pre-made templates without coding knowledge.
Wufoo comes with a contact form with fewer pre-made templates that are enough to create a contact form for your website. The pre-made templates contain already added form fields that you use to quickly create your contact form. They are also responsive to fit any screen size.
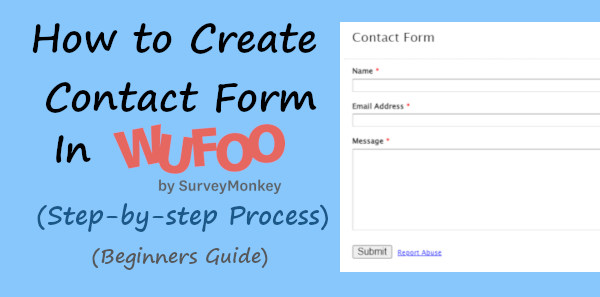
The interface of Wufoo is outdated and old and because of this, it is very easy for beginners to understand. With just a few setups in a single place, your contact form will be ready to add to your website.
Let’s get started.
How to Create Contact Form in Wufoo and Add to Your Website (Step-by-step)
Here is the step-by-step process on how you can create a contact form in Wufoo:-
Step 1 Create an Account with Wufoo
First of all, open the Wufoo website and click the ‘SIGN UP FREE’ button to create a free account with Wufoo.
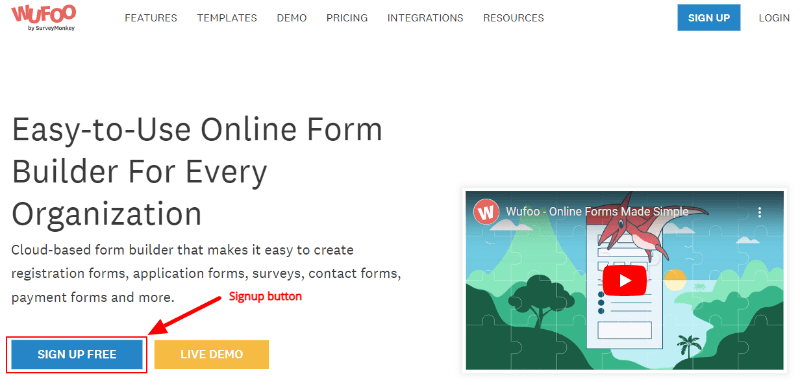
Step 2 Start Creation and Select a Template to Create Contact Form with Wufoo
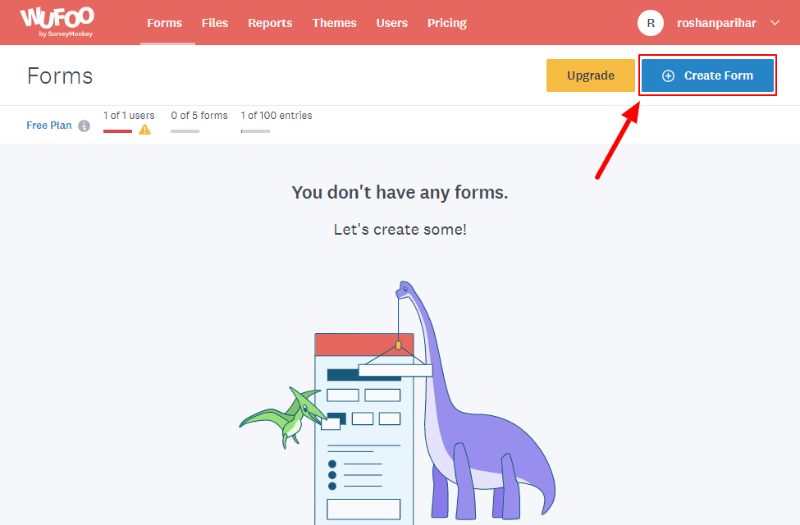
After creating a free account with Wufoo, it will take you to the dashboard. In the dashboard, click the ‘Create Form’ button to start creating your contact form.
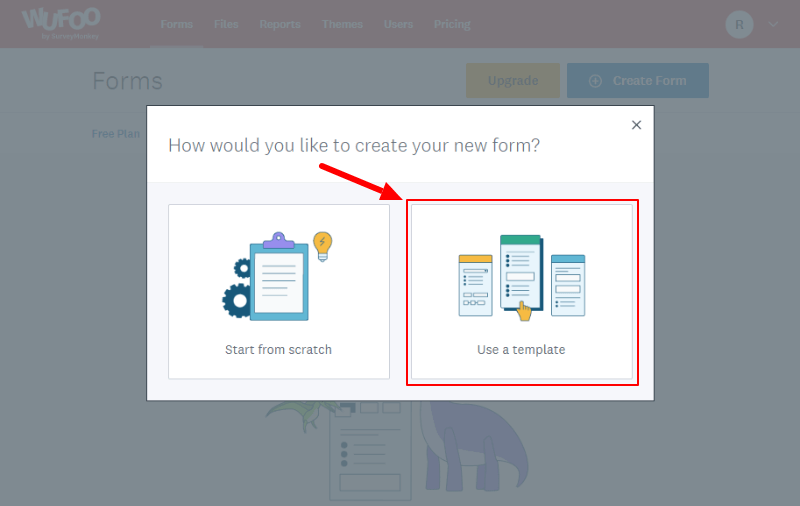
You will get a popup with two options in which you select one option to proceed. To select a pre-made template for the contact form, click ‘Use a template’.
Now, to get the template, enter the search term ‘contact form’ and click the search button to get the results.
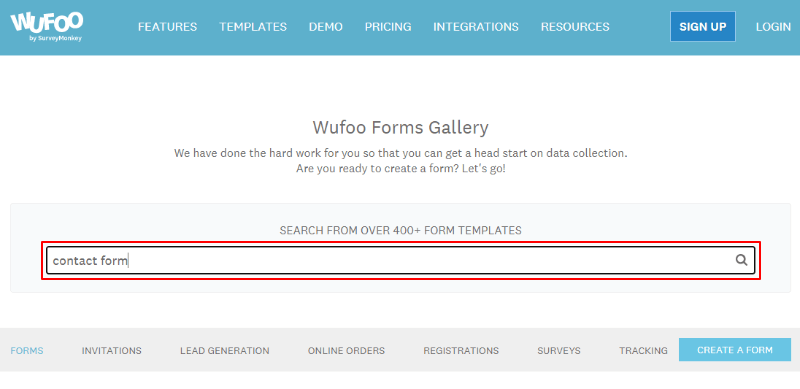
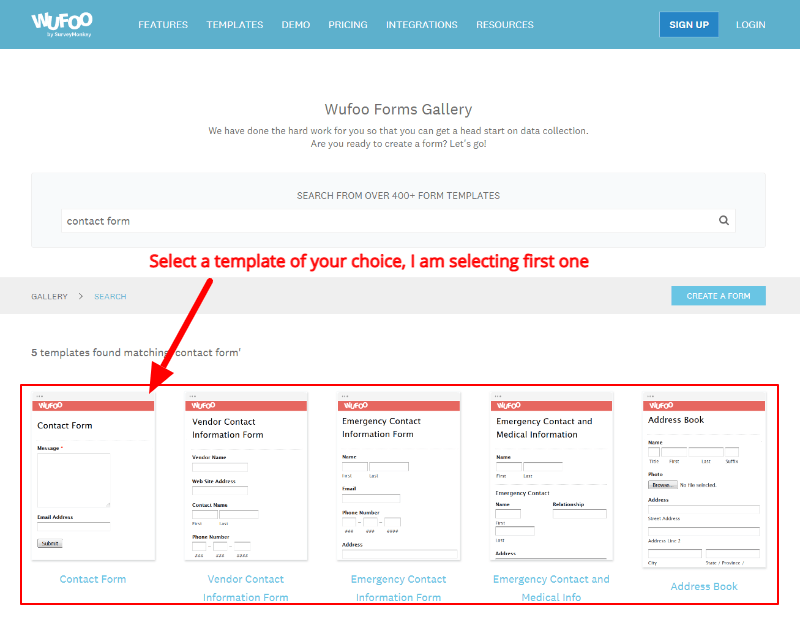
The result is the fewer contact form template but is enough to create a contact for any type of website. You can click the template to get the template with pre-added fields.
Let’s select the first template to quick start creating the contact form for your website.
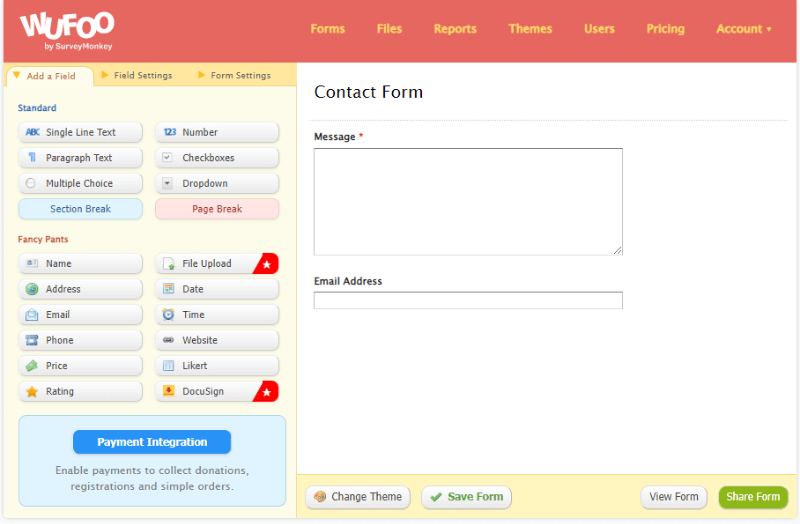
You will get the pre-added form fields as shown in the image below. The form fields are enough to capture users’ queries from your website.
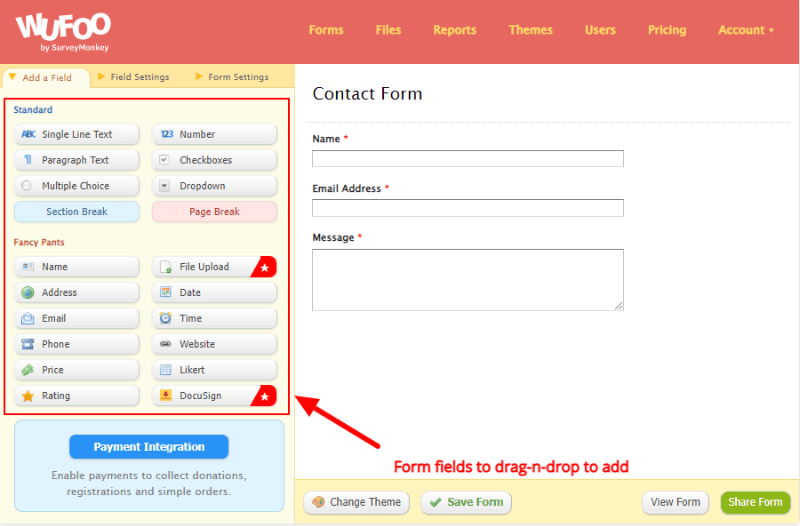
But, for personalization, the name field is useful to add to the form. So, let’s add the name field to the contact form in the next step.
Step 3 Add Contact Form Fields and Make Field Settings One-by-one
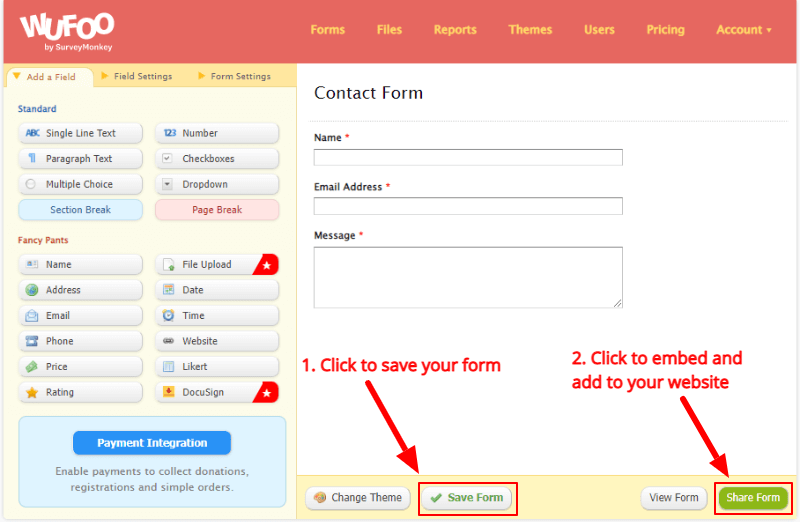
The left-hand side of the image below shows the form fields that you can drog-n-drop into your form to add more fields.
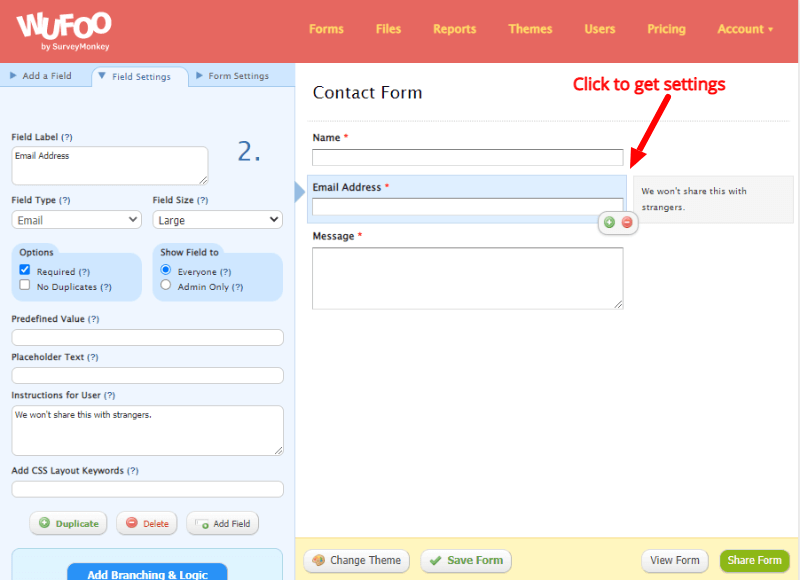
To get the form field settings, you have to click the form field and its setting option will appear on the left-hand side.
There are many field setting options available like the label, field type, size, required or not, pre-defined value, placeholder, and many others.
Step 4 Change Form Settings for Notifications
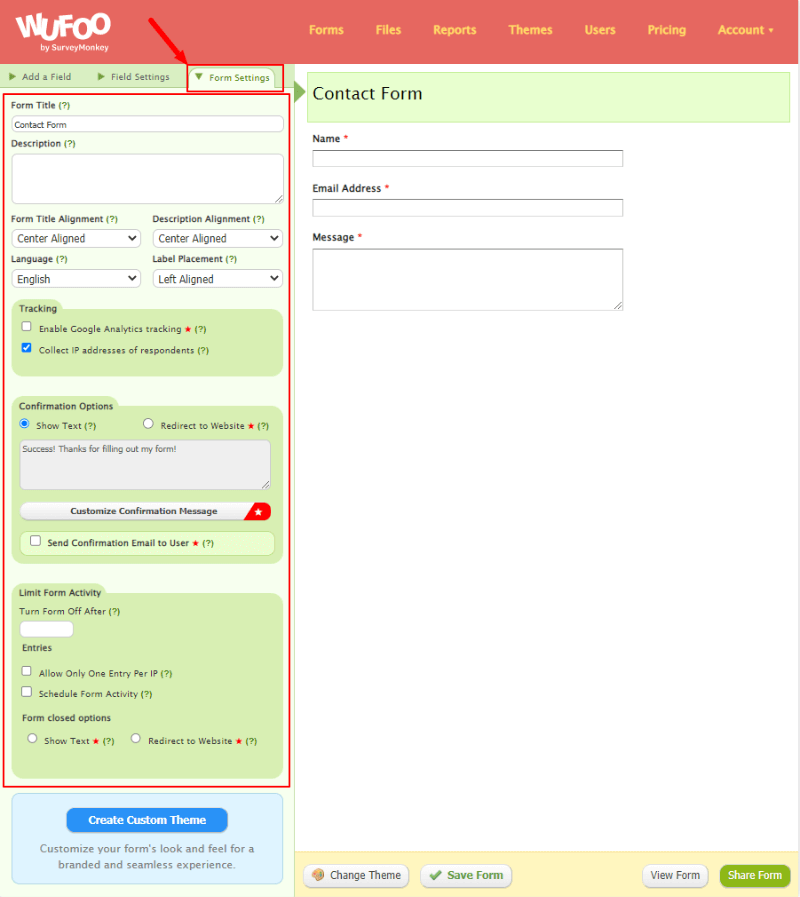
After you complete making form field settings, it’s time to make form settings like form name, alignment, tracking, confirmation messages, recipient email address, and many more.
To make the form settings, click the ‘Form Settings’ tab as indicated in the image below. You will get all the form setting options on the left-hand side.
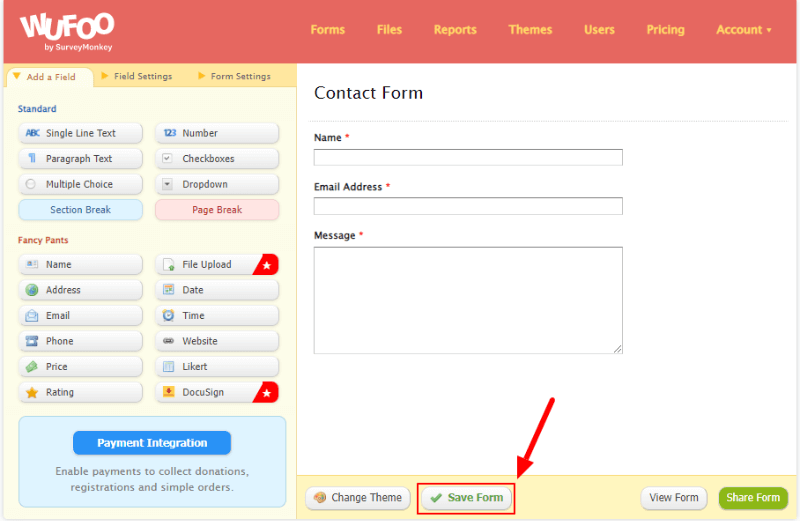
When you complete making form settings, click the save button to save all your settings and changes.
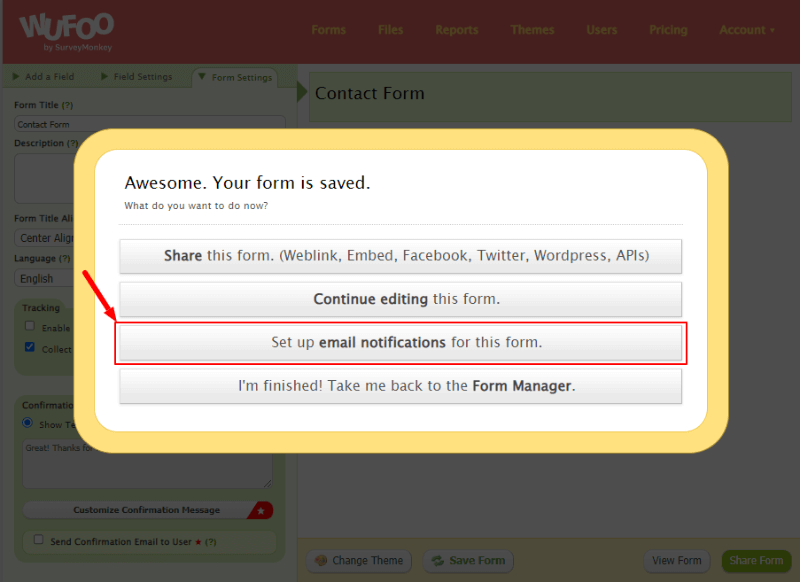
You will get a popup where you have to click the ‘Set up email notifications for this form’ option to get the setting option.
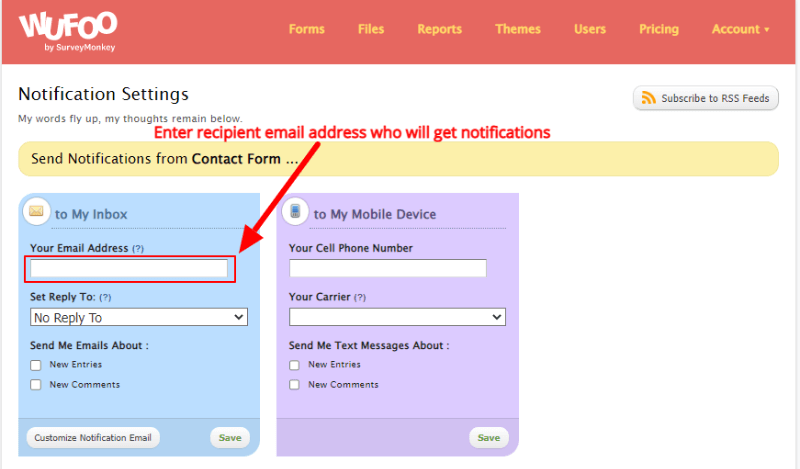
Now, enter the email address of the recipient who wants to receive the email notifications with the user-entered data. It can also be the email address of the owner of the website to get the user’s details who fill out the form.
Step 5 Finally, Embed the Contact Form to Your Website
Now, your form is ready will all the setup to add to your website. You can again click the ‘Save’ button to save your changes. Also, click the ‘Share’ button to get the embed code to add to your website.
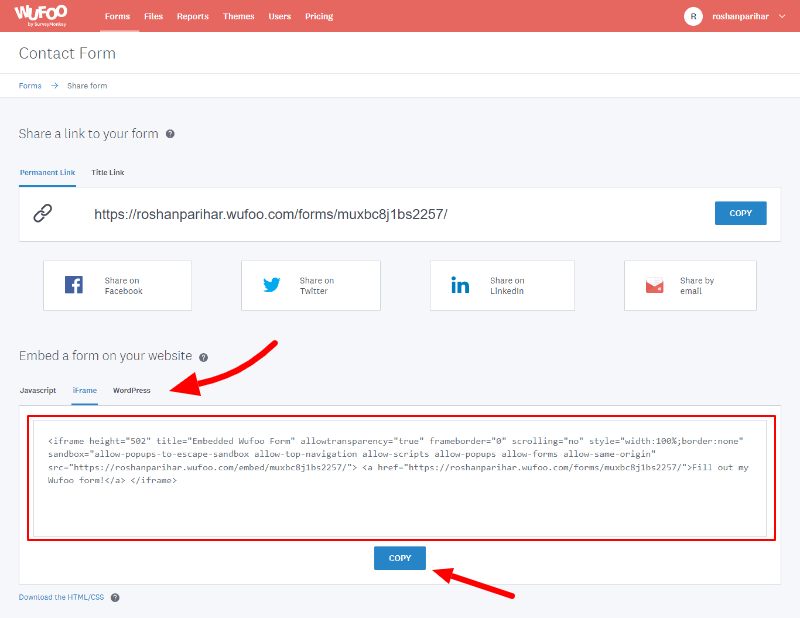
After you click the ‘Share’ button given above, you will get the embed code as given in the image below.
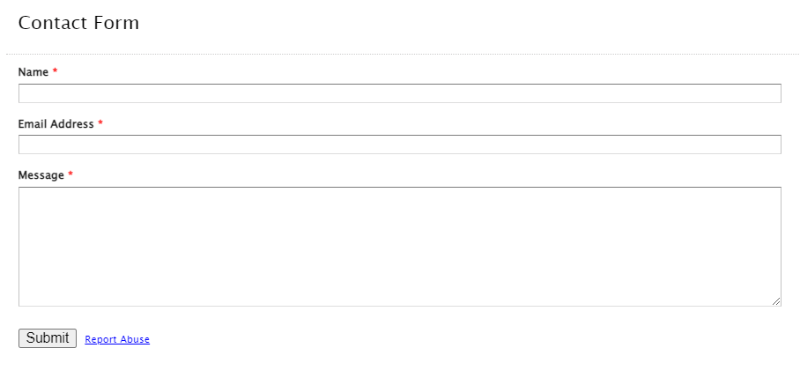
Finally, open your website contact us page where you have added the embed code. You will get the contact form as shown in the image below.
Each time user fills in the contact form on your website, you will get the data on your Wufoo account without the need for any coding.
That’s all!
You May Also Like to Read
