In this post, Learn how to build a contact form without coding using JotForm. After that, you can add the form to your website pages. Non-technical users can easily create a contact form in just a few clicks.
JotForm comes with 400+ pre-made contact form templates. These templates can help you easily create any type of contact form for your website in minutes.
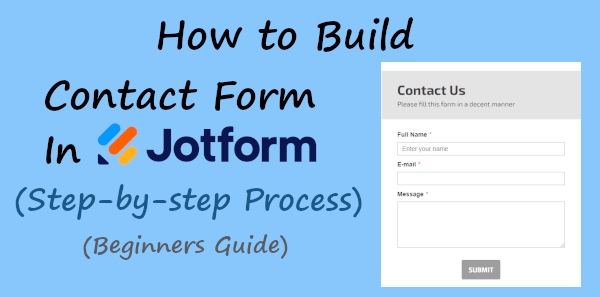
All the templates are beautifully designed and responsive to display on any size device. You just have to select the contact form category to get all the templates. After that, you just have to select the template for a quick start.
Affiliate Disclosure: At Tutorialdeep, we believe in transparency for our users. In this blog, there are some referral links. If you signup with these links we will earn some commission at no extra cost to you. We recommend these links because they are our trusted brands.
So, let’s get started.
How to Build Contact Form in JotForm Without Coding (Step-by-step)
Here is the step-by-step process on how you can create a contact form using Jotform:-
Step 1 Create an Account with Jotform
First of all, open the Jotform website and click the signup button to create your account. You can signup using your Google account or Facebook account to create an account with JotForm.
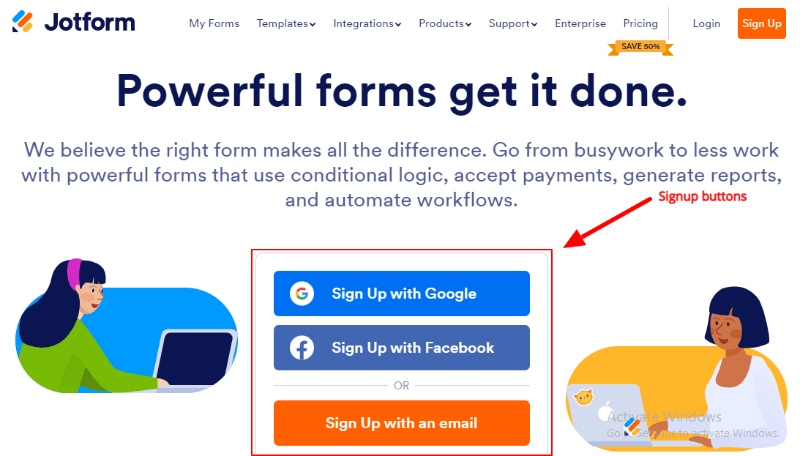
If you want to signup using your email id, you also choose the ‘Sign Up with an email’ button.
Step 2 Start Creation and Select a Template to Build Contact Form with JotForm
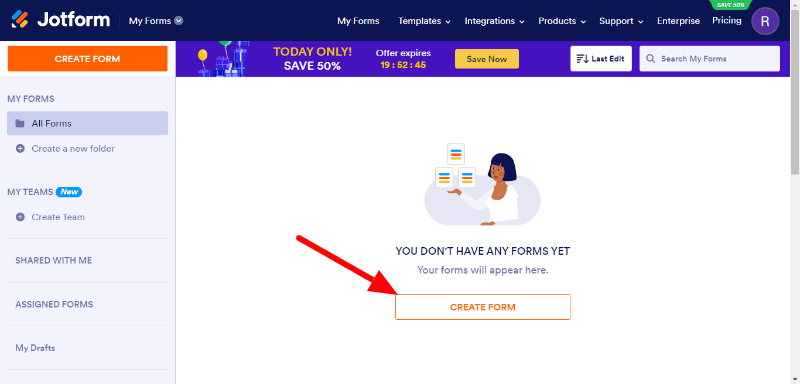
After creating an account with Jotform, you will be taken to the dashboard where you have to click the ‘CREATE FORM’ button to proceed.
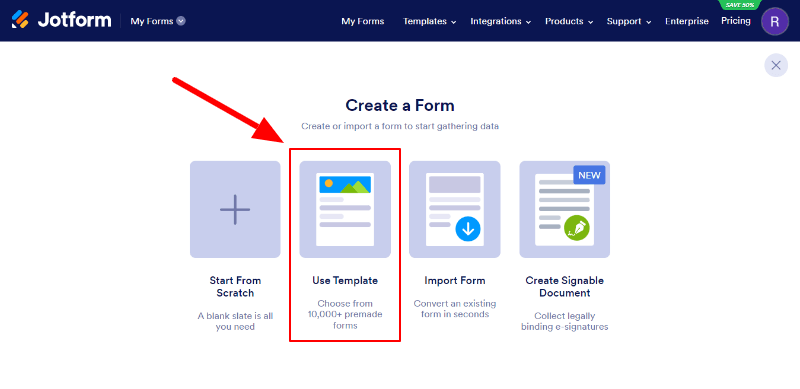
It will take you to the creat form page where you have to select the ‘Use Template’ option to get the pre-made contact form template.
Now, enter the search term ‘Contact Form’ in the input box as given below and click the search button.
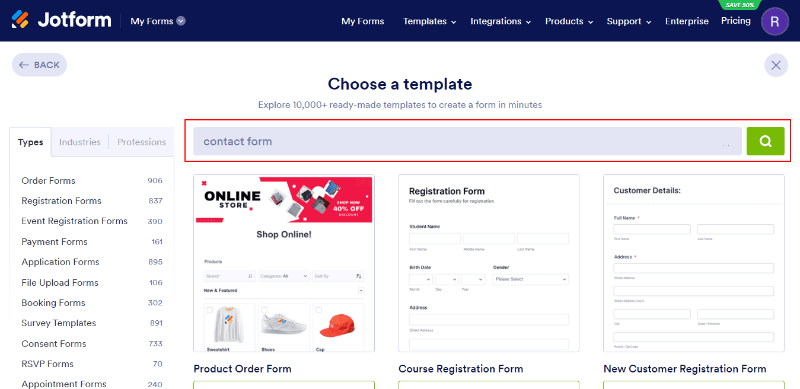
This will give you 400+ contact forms with beautifully designed pre-made templates. As you can see, the below image shows the contact form templates, you just have to click the template to a quick start.
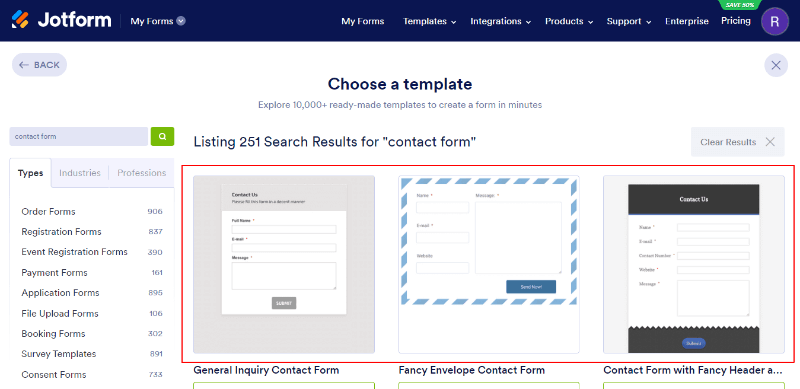
You will get a preview of the template with pre-added form fields. To use the template, click the ‘Use Template’ button to proceed.
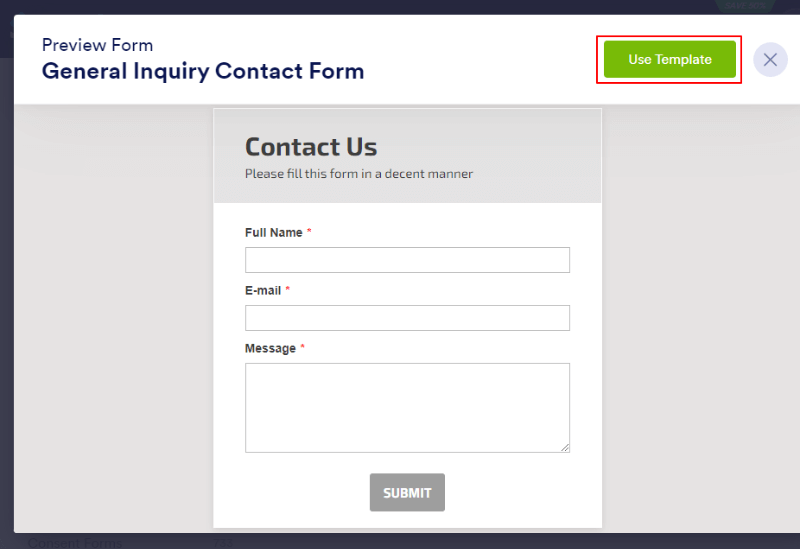
Choose your organization logo and name for the branding of your contact form to add to your website. After that, click the ‘SAVE’ button to proceed.
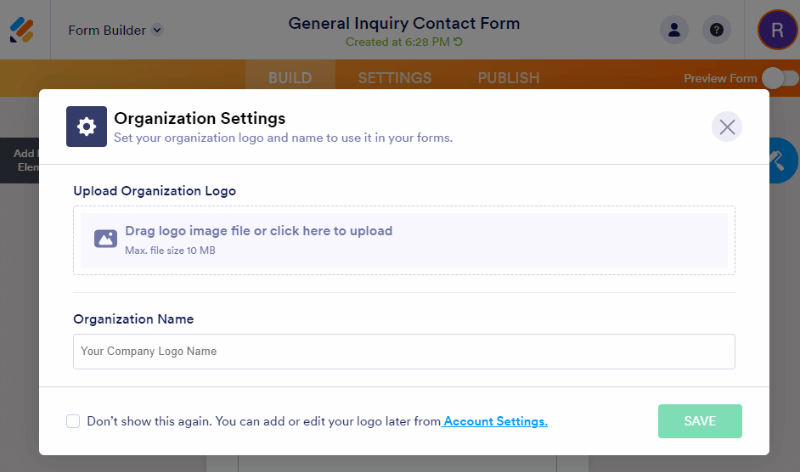
You will get the branding logo and the form template with pre-added form fields. The below fields are enough to build a contact form to get your user’s query in email.
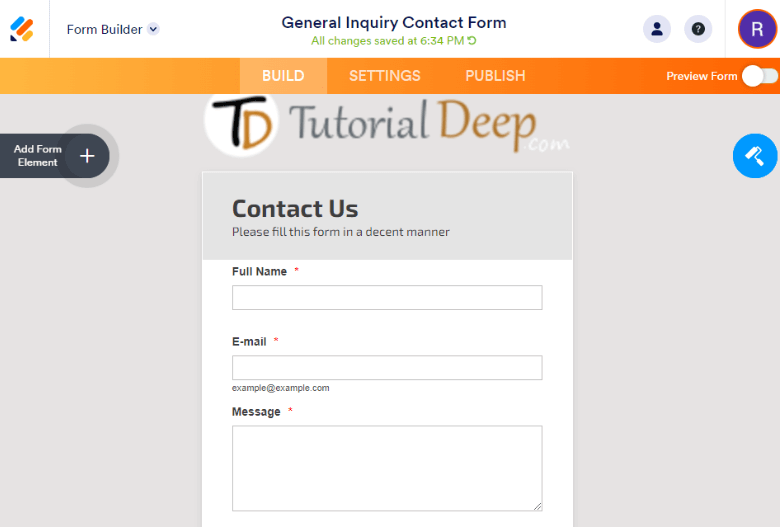
The next step is to make form field settings one-by-one to them required for users to fill. Also, you can set size, validation, and character limit for users, placeholders, and others.
So, let’s start making form field settings in the next step.
Step 3 Make Contact Form Fields Settings One-by-one
To get the form field settings, you have to click the form element and click the setting () icon as shown below.
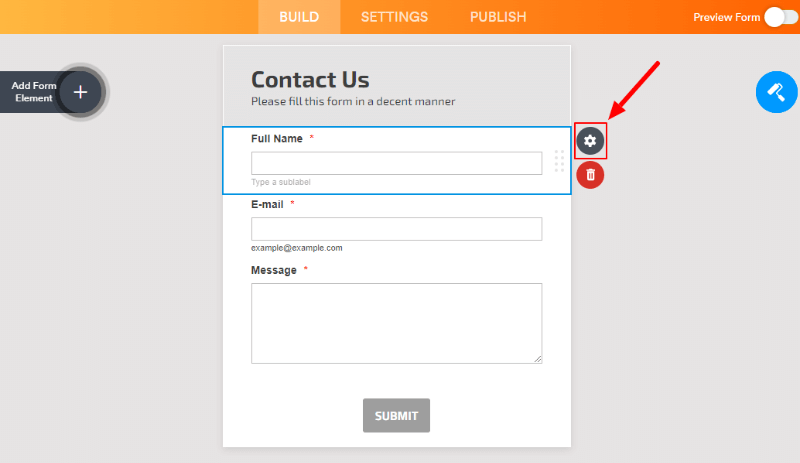
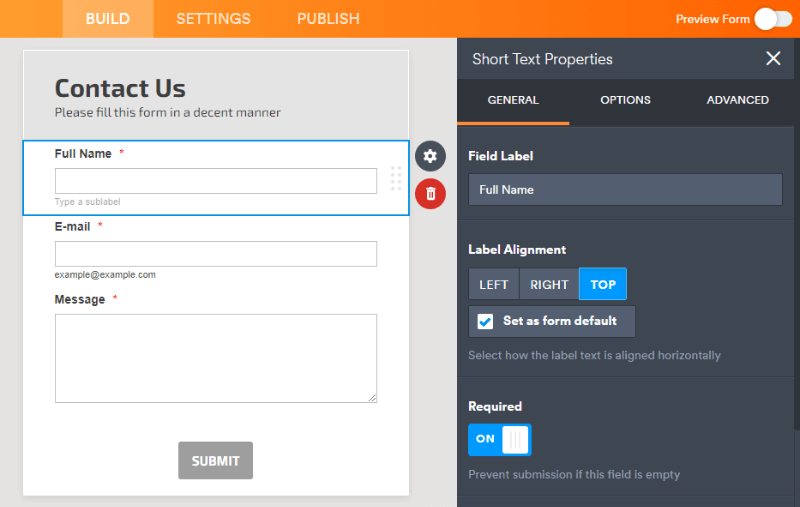
You will get different field setting options like General, Options, and advanced. Let’s start with creating the ‘General’ setting option. In the General setting option, you can change the label, and alignment, and make your field required for users.
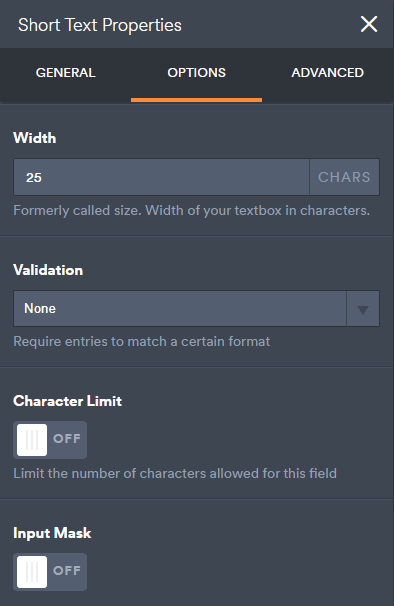
The next is the ‘Option’ setting where you can set the width, validation to get valid entries, and character limit for the fields.
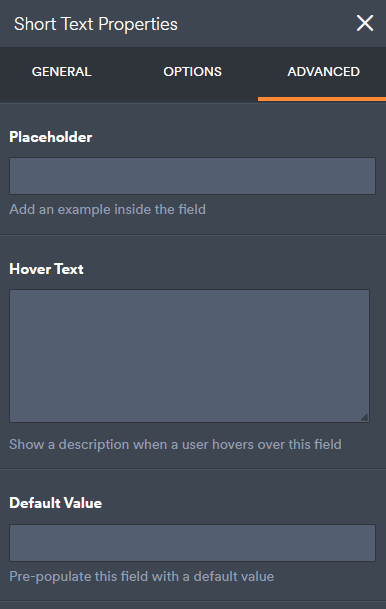
In the next option, you will get advanced settings where you can set the Placeholder for the field, Hover Text, and Default Value for the field.
Furthermore, you have to make form settings, emails, conditions, thank you pages, etc. to give notifications to your users and get emails for website owners.
So, let’s start making form settings in the next step.
Step 4 Add Form Settings for Notifications
In the form settings, you have to set a name for your form to be everywhere in emails when you receive notifications.
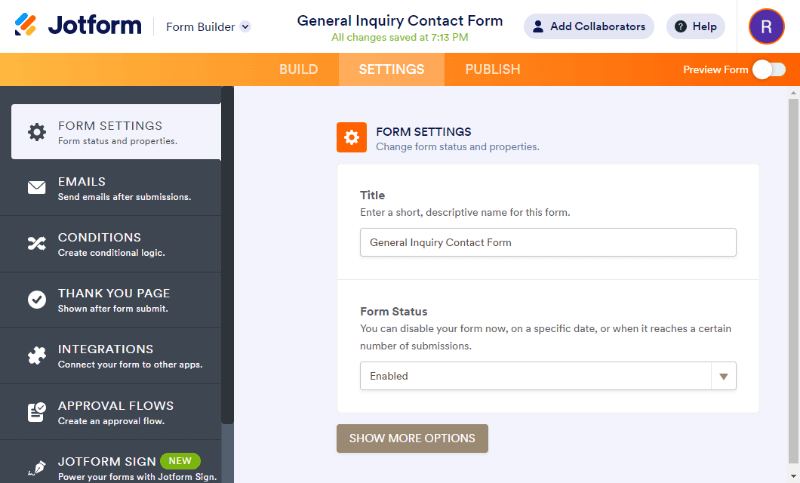
The next is the ‘Emails’ setting where you can set up emails and message content to send to your users and website owners.
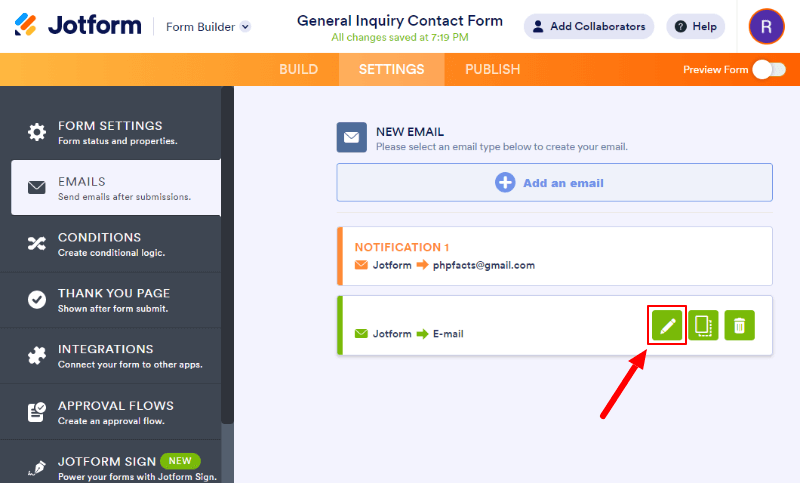
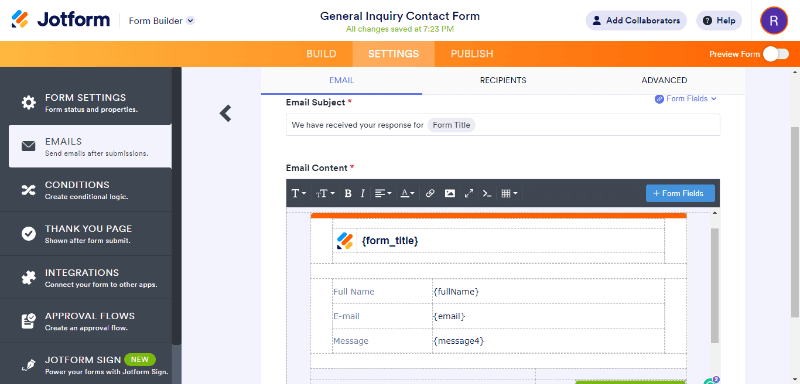
Below is the email format that you can change according to your requirements. The content includes the form name, full name, email, and message.
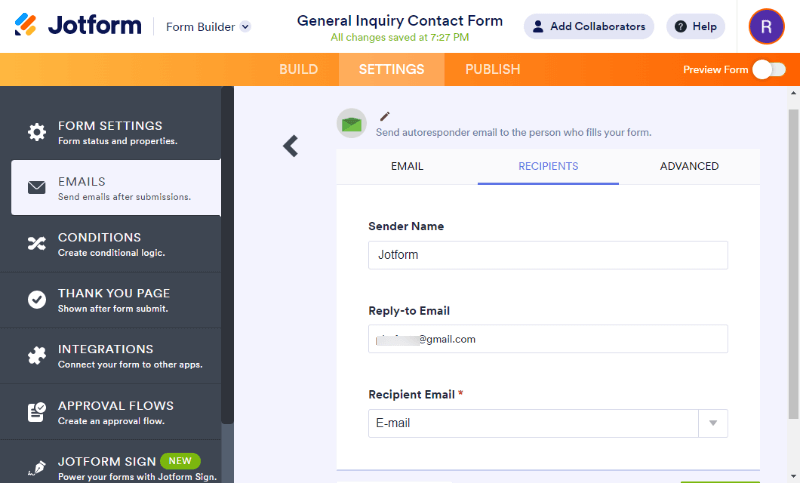
Next is the recipient email setting where you can set the sender name, reply-to email, and recipient email.
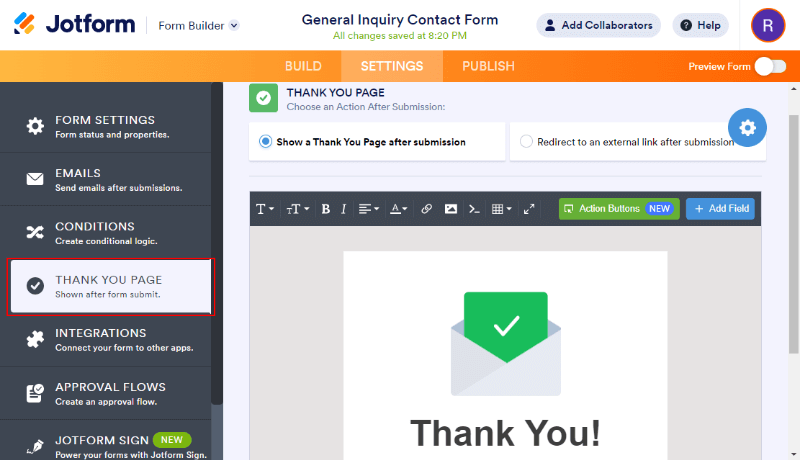
You can also set a thank you message when someone fills in the details in the contact form and click the submit button. You can also set up a redirect URL to show a different page as a thank-you page for users.
Step 5 Finally, Embed Contact Form to your Website
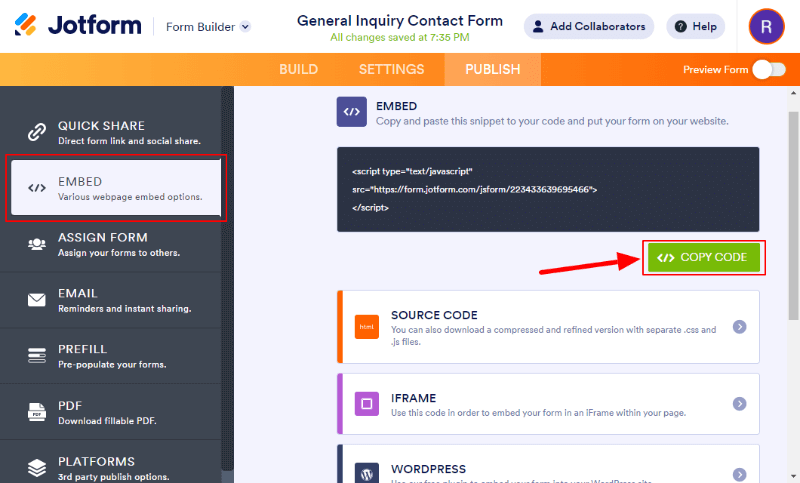
Now, your form is ready to add to your website pages. JotForm provides an easy-to-use embed shortcode that you can copy and paste to the location of your pages where you want to display the form. You will get the short embed code as shown in the image below.
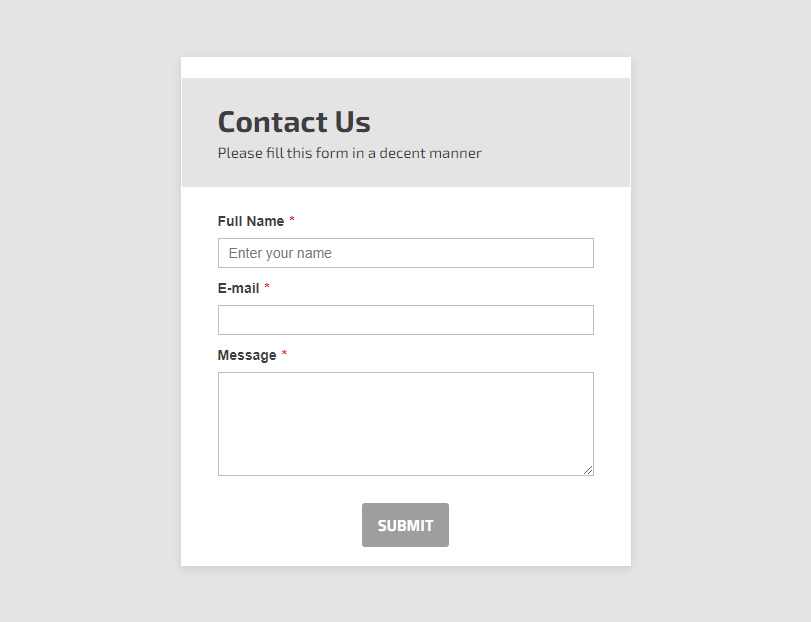
After you add a contact form to your website pages, it’s time to open the page and see your contact form working. When you open the page where you have added the contact form, your contact form will appear as shown below.
You can fill out the form and press the submit button to get the email as an owner of the website. Also, check the recipient email inbox to see the email received by the user who submit the form.
That’s all.
You May Also Like to Read
