HubSpot is the most powerful platform for marketing, sales, content management, and customer service. It comes with a HubSpot Free AI copywriter tool to make content creation easier.
AI copywriter is one of the tools of HubSpot to help build better content on automation. You can create content strategies with AI tools to improve your performance.
When you have a large size data, you can use AI to easily analyze and generate valuable insights. After that, you can work on actionable insights to gain more conversions.
Affiliate Disclosure: At Tutorialdeep, we believe in transparency for our users. In this blog, there are some referral links. If you sign up with these links we will earn some commission at no extra cost to you. We recommend these links because they are our trusted brands.
Let’s find out more about the HubSpot AI copywriter tool, its benefits, and the process of using it for content creation on automation. So, let’s get started.
What is HubSpot Free AI Copywriter?
HubSpot AI copywriter is the marketing tool to easily generate content with AI writing assistant. You can create content for your blog or website, social media, and more with just a few mouse clicks.
Content creation in marketing can help you gain more audience and get more conversions for your business. You can do content marketing on automation using the HubSpot AI content writer tool.
Benefits of Using HubSpot Free AI Copywriter Tool
Here are the benefits of using the HubSpot AI copywriter tool to create content:-
- Save time and money: HubSpot AI copywriter tool can help you create content on automation. You just have to enter your topic and content will be generated in just a few clicks on automation.
- Generate Engaging Content: It can generate more engaging content and help you gain more audience and generate more leads. You just have to make a few customizations to make your content ready to publish.
- Collaborate with Team Members: You can use the AI written content as a rough draft and share it with team members to make it more creative.
- One CRM for All Marketing Needs: After you generate leads from your content, you can use HubSpot CRM to build relationships with your audience and convert them into regular customers.
How to Use HubSpot Free AI Copywriter Tool (Step-by-step Process)
Let’s find out how you can use HubSpot AI content writer with the step-by-step process given below:-
Step 1: Create a Free Account on HubSpot
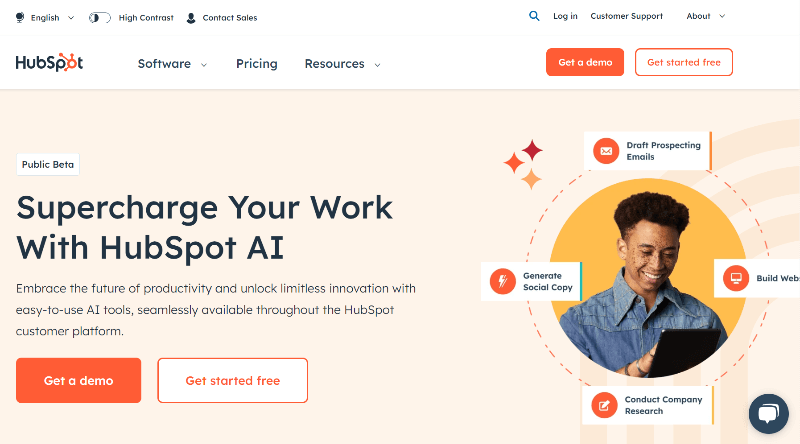
First of all, Open the HubSpot AI page and click the ‘Get started free’ button to create your free HubSpot account with no credit card required.
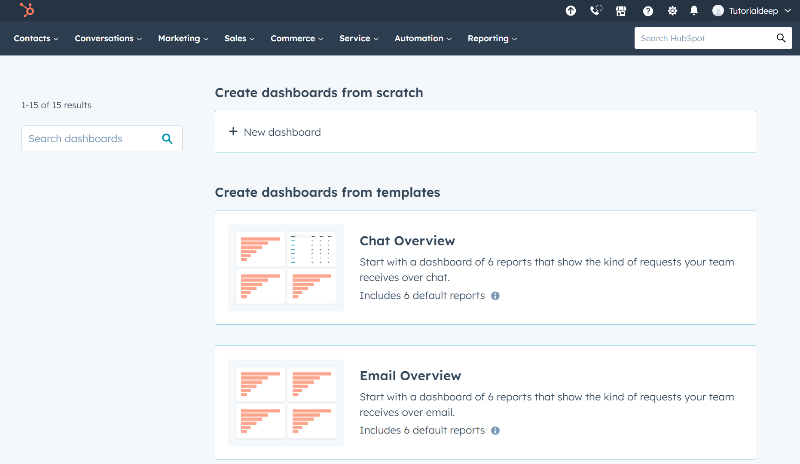
You will be taken to the dashboard as shown in the image below.
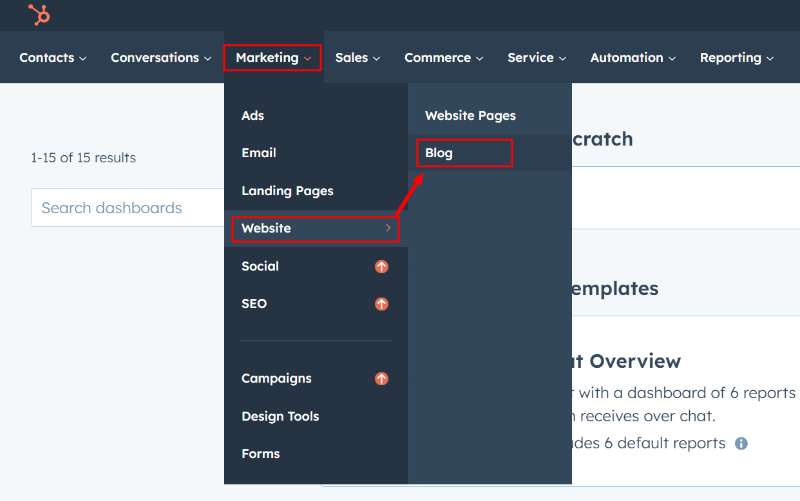
Step 2: Go to Menu Option Marketing > Website > Blog
Now, open the menu option ‘Marketing’ as shown in the image below. Here, you will get various sub-menu options where you have to select the Website << Blog.
Step 3: Enter Post Title to Generate Content with AI
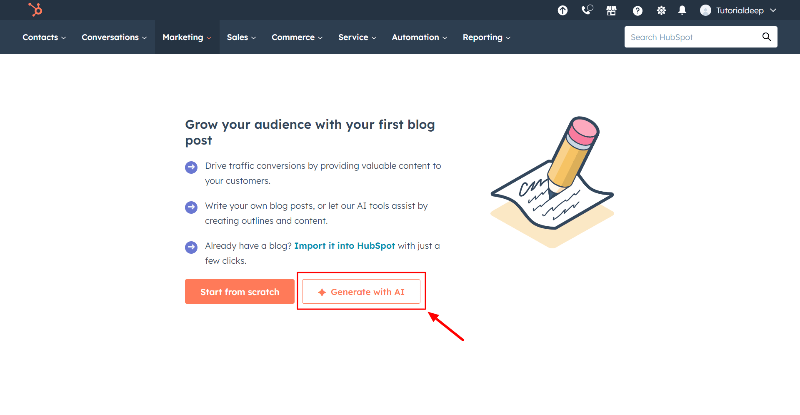
It will take you to the page where you will get two buttons. Out of these buttons, select the ‘Generate with AI’ button to generate content with HubSpot AI copywriter on automation.
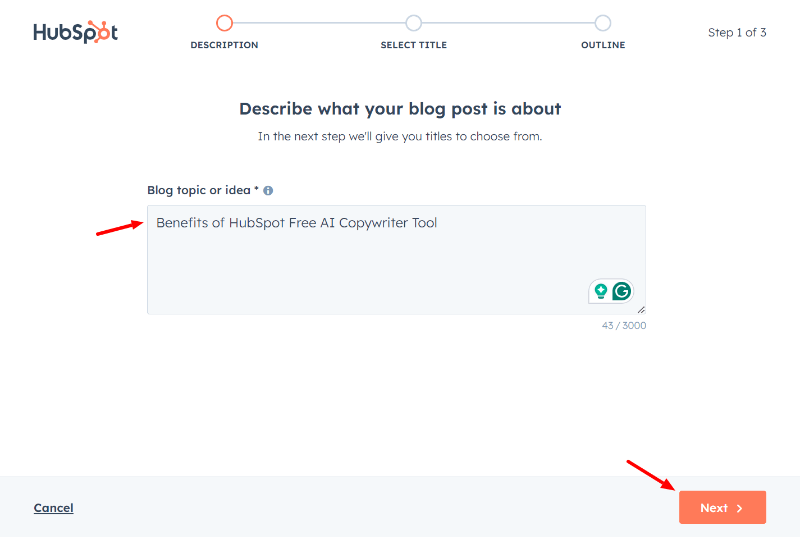
Next, enter the topic on which you want to generate content for your blog. Click the ‘Next’ button to proceed.
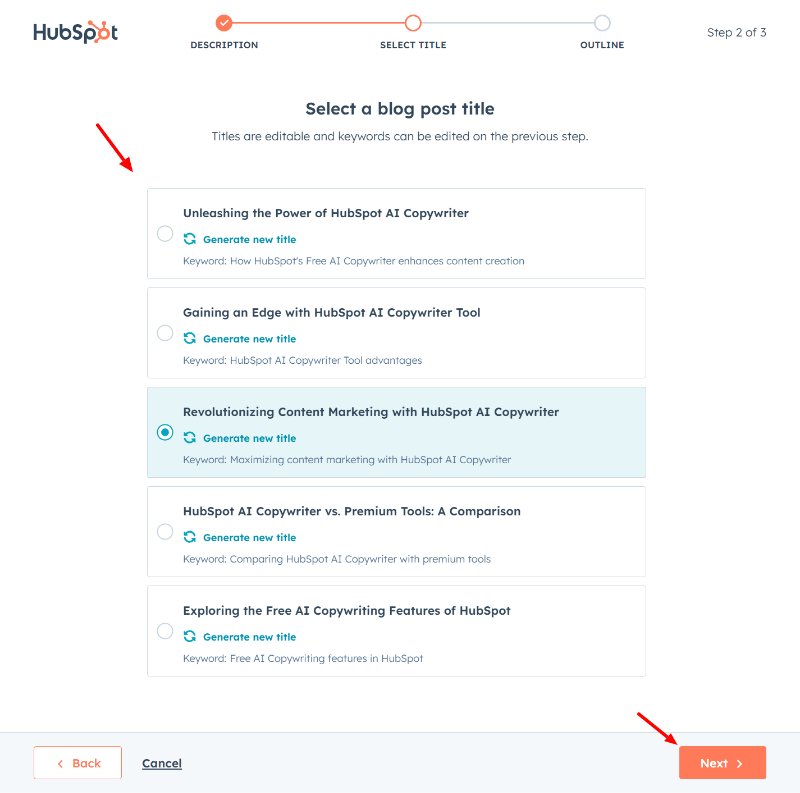
You will some AI-generated post titles with keywords for the post. If you want to auto-generate some more post titles, you can click the ‘Generate new title’ link.
Select a title of your choice and click the ‘Next’ button to proceed.
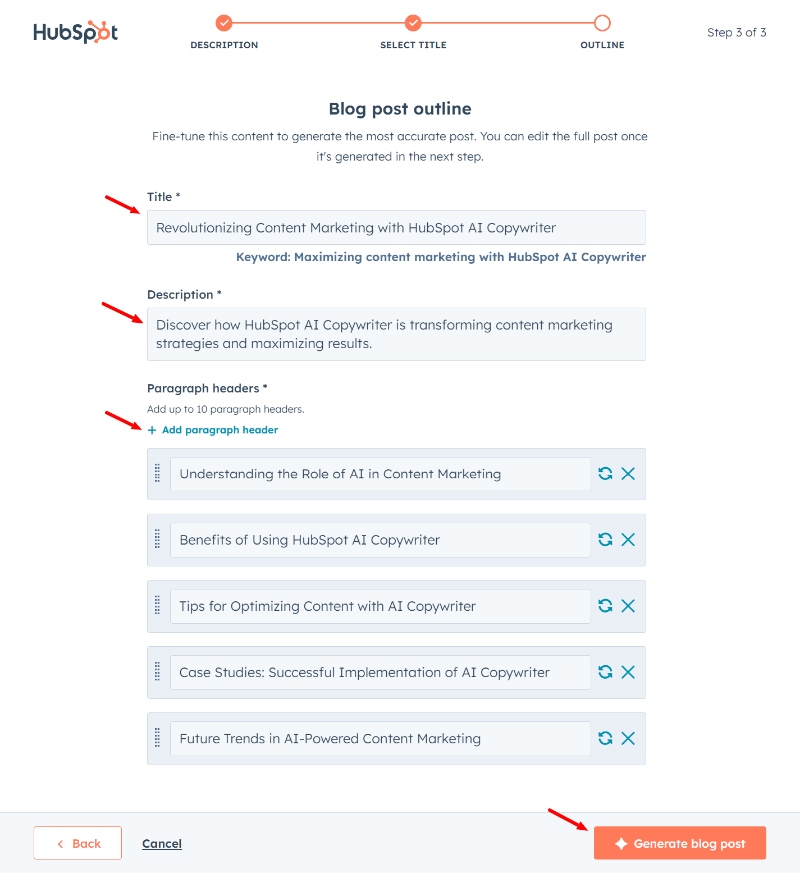
The AI will generate your blog outline in which you will get the post title, meta description, and inner content headings for paragraphs.
If you want to add more paragraph headers, you can click the ‘+Add paragraph header’ link to generate more headers with AI.
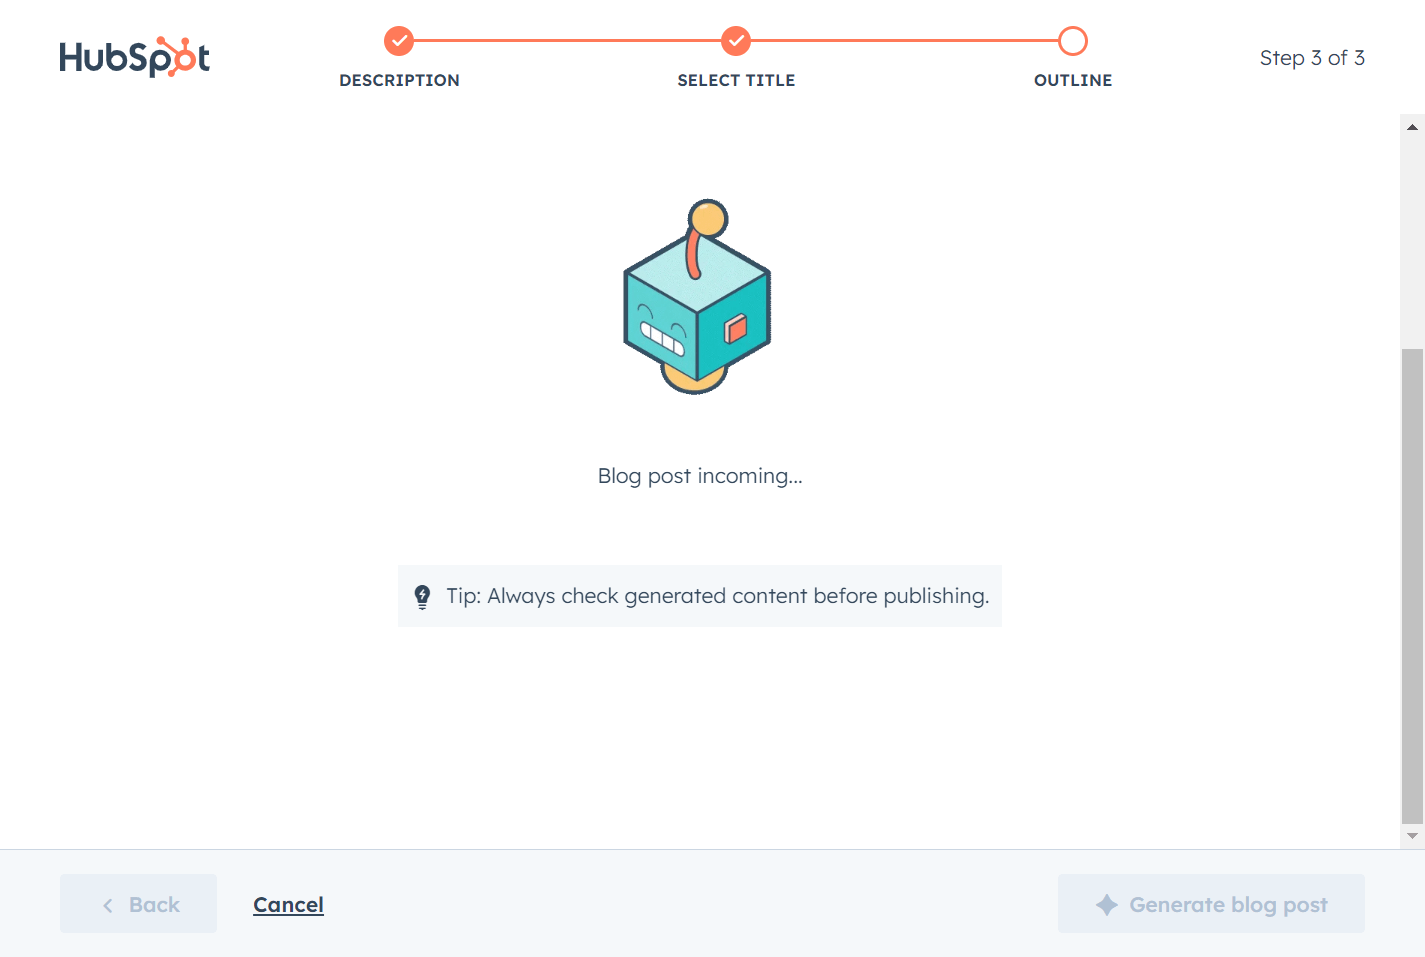
Now, click the ‘Generate blog post’ to generate the full blog post content with HubSpot AI copywriter.
You will get the bot image until AI generates a full blog post for your blog. It is always recommended to check the blog post content before publishing.
Step 4: Customization Content to Finalize
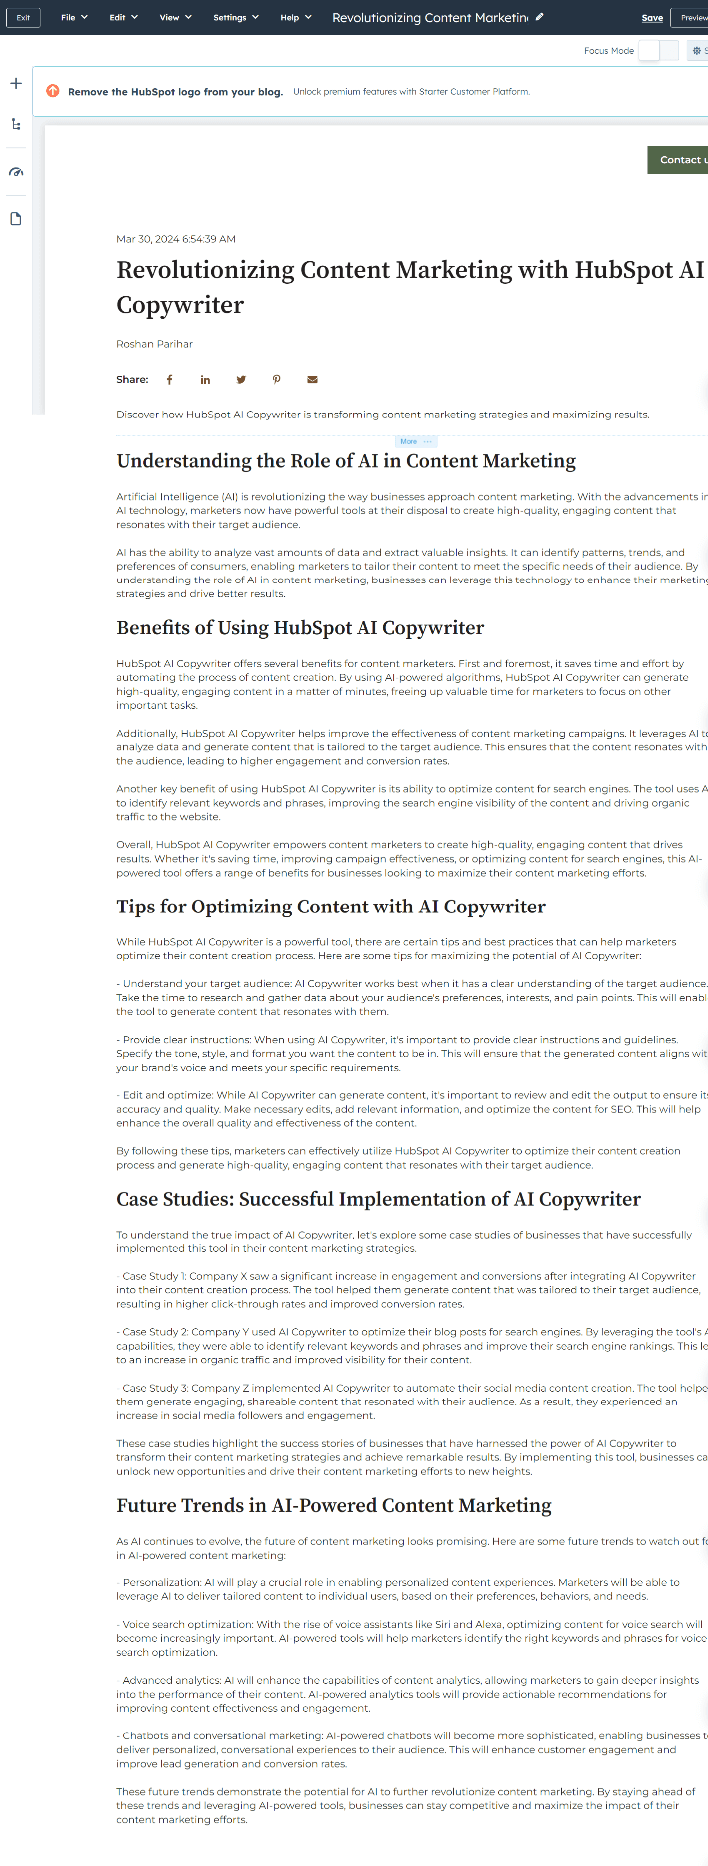
The full post content is generated as shown in the image below. Always consider customizing the AI-generated blog content to match with the blog and tone. Make a few edits and check it again before publishing.
After you confirm that the blog post is ready to go live, you can publish it on your blog or website.
That’s all!
You May Also Like to Read
