ClickUp is the #1 collaboration and productivity platform for small to large-size businesses. You can easily add team members, create tasks, and assign them to complete before the due date.
It is an all-in-one cloud-based productivity platform to easily manage your projects, team members, and tasks.
Clickup comes with a variety of features like Whiteboards, Calendars, Timelines, Goals, Trackings, in-app Chats, Integration with other work tools, and automation. You can set deadlines for your team members to improve the productivity of your business.
Affiliate Disclosure: At Tutorialdeep, we believe in transparency for our users. In this blog, there are some referral links. If you sign up with these links we will earn some commission at no extra cost to you. We recommend these links because they are our trusted brands.
Let’s find out how you can sign up with Click, create workspace, add team members, create tasks, and assign tasks to your team members.
How to Signup Click Productivity Platform (Step-by-step)?
Here is the step-by-step process on how to sign up for ClickUp:-
Step 1: Open ClickUp Homepage to Create an Account
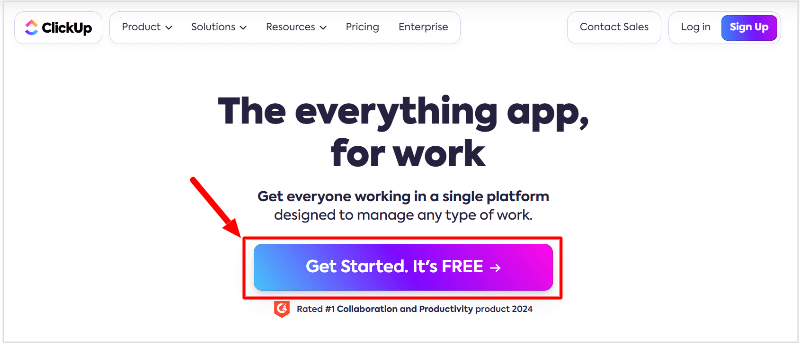
First of all, open the ClickUp homepage. Click the ‘Get Started. It’s FREE’ button to start creating an account with ClickUp.

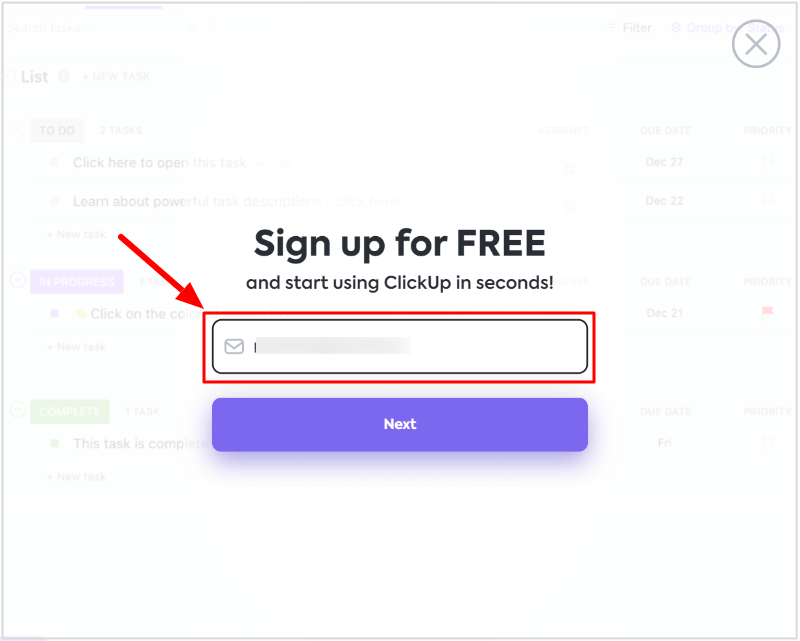
You will get a popup as shown in the image below where you have to enter your email address. Now, click the ‘Next’ button to proceed.
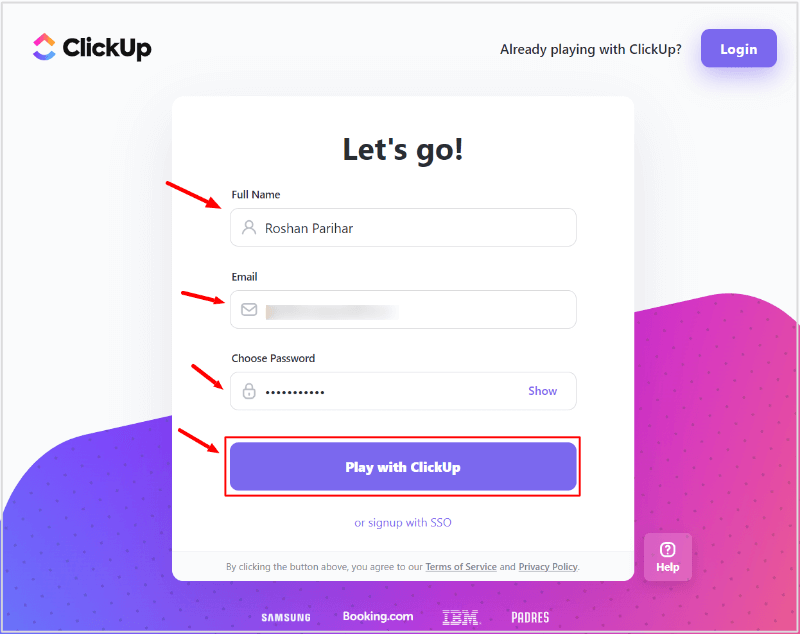
After that, you will get a form to enter your full name, email address, and password for your ClickUp account. Click the ‘Play with ClickUp’ to proceed further.
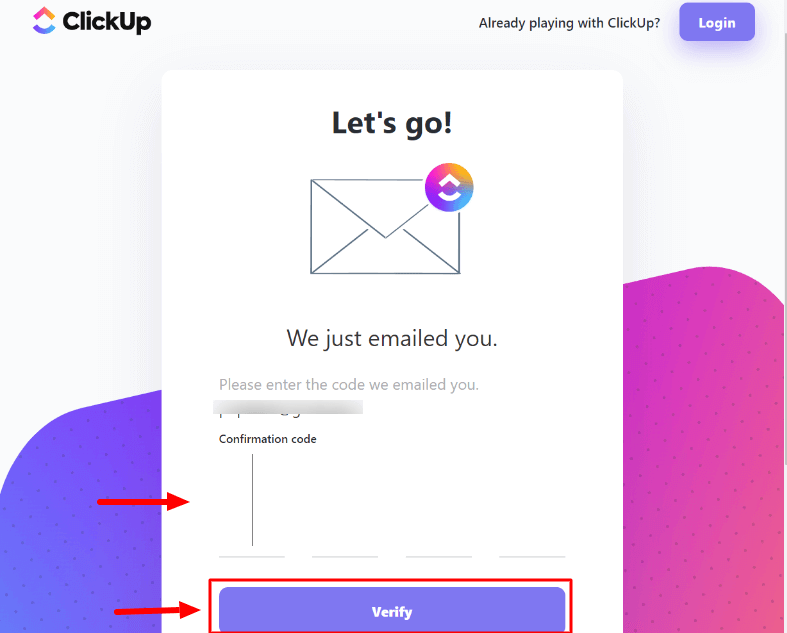
Now, It will send a confirmation code to your email address to enter in the ‘Confirmation code’ field as shown below. Open your email address to get a confirmation code and enter the ‘Confirmation code’ field. After that, click the ‘Verify’ button to verify your email address.
This is required for security purposes and to verify that you are the real person and not the robot.
Step 2: Personalize ClickUp for your Use
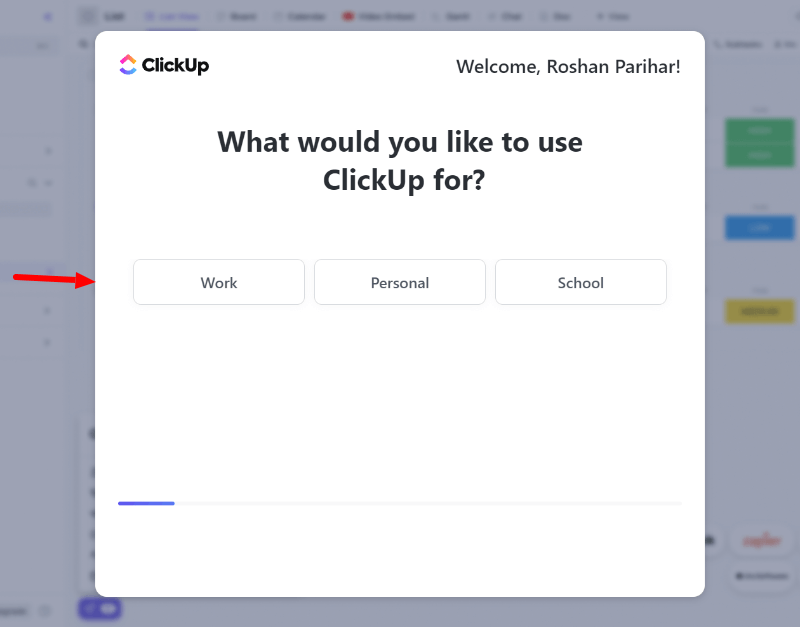
Now, you can personalize ClickUp for your use. Choose what would you like to use ClickUp for. You can choose whether you want to use ClickUp for your work, personal, or school.
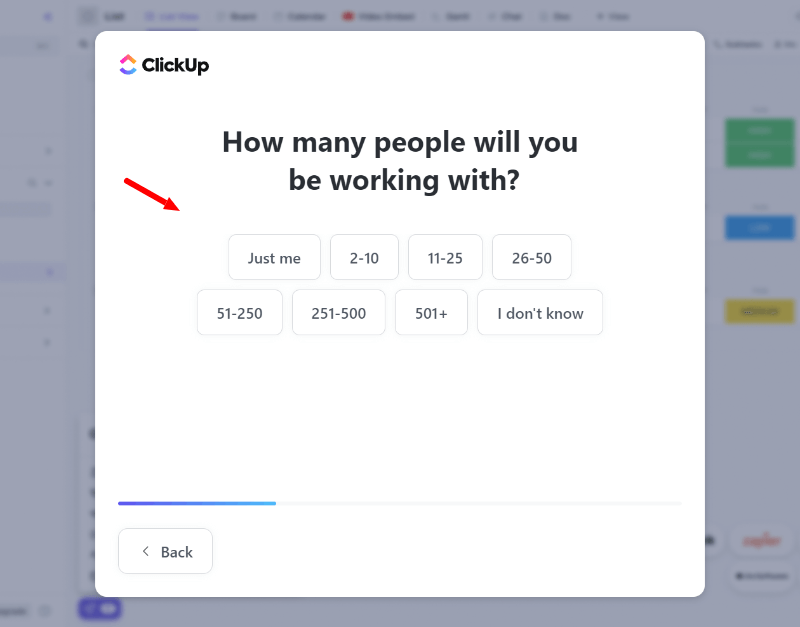
Further, choose the number of people you have in your team members.
Select the solutions you want to start with to use the ClickUp. Click the ‘Next’ button to move further.

Choose an option from where you hear about ClickUp and click the ‘Next’ button to go to the next screen.

Step 3: Invite Team Members to Work Together
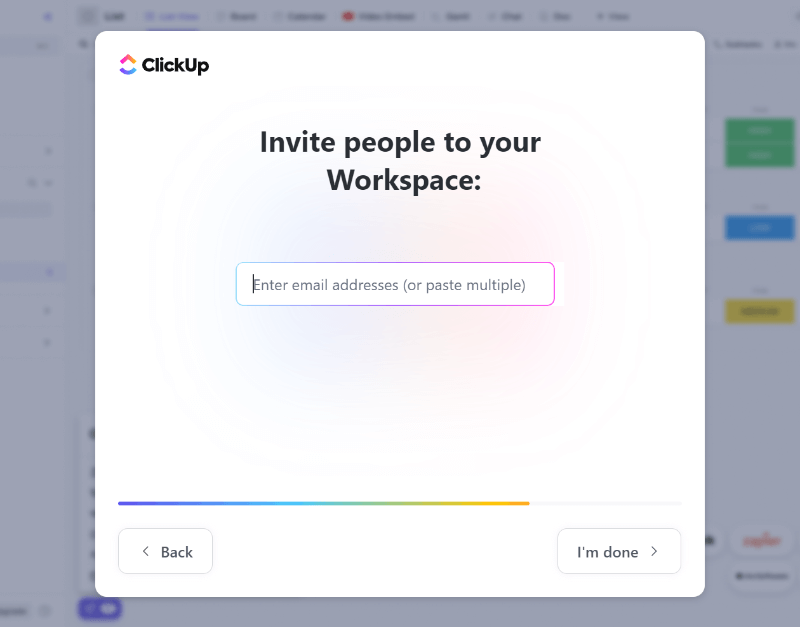
If you have team members and want to collaborate with them in Clickup, you can enter single or multiple email addresses of your team members to send invitations. After you enter the multiple email addresses of all your team members, you can click the ‘I’m done’ button.
Step 4: Import Data From your Favorite Tools
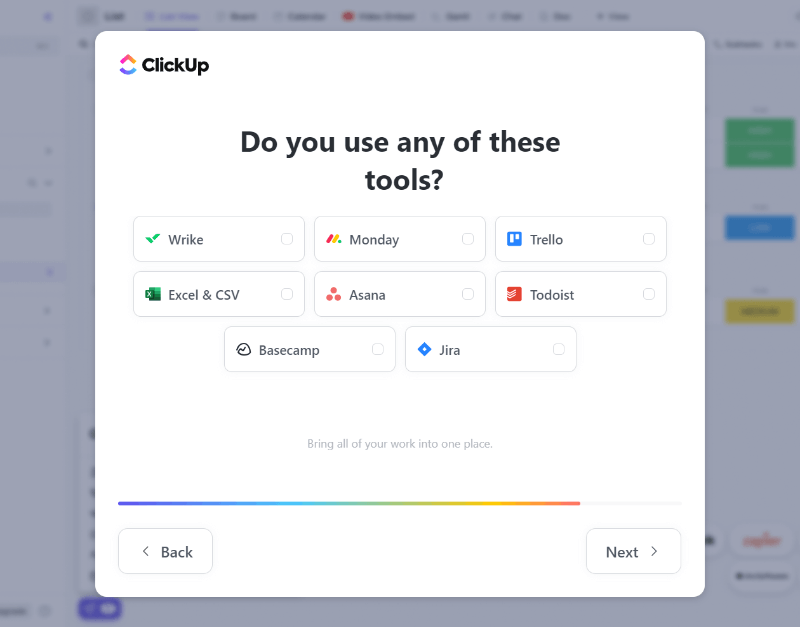
If you are already using other project management tools given in the list, you can select them here. This is useful when you want to import all your data from another platform to ClickUp. After that, click the ‘Next’ button to proceed.
Step 5: Create a Workspace for your Projects in ClickUp
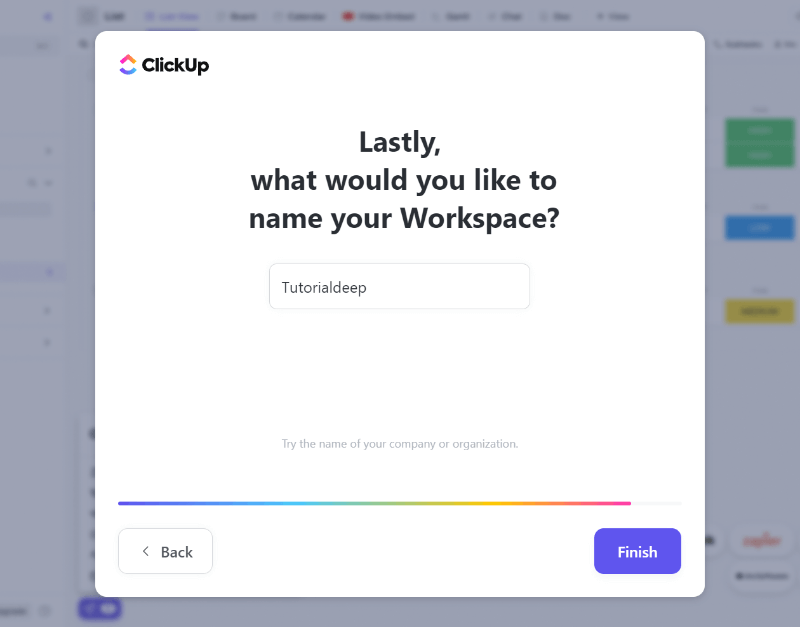
The final window is the enter the name of your Workspace where you can work on your projects. Enter your name or your company name to create a workspace using it. My website name is TutorialDeep, that’s why I am entering the name ‘TutorialDeep’.
After that, click the ‘Finish’ button to proceed.
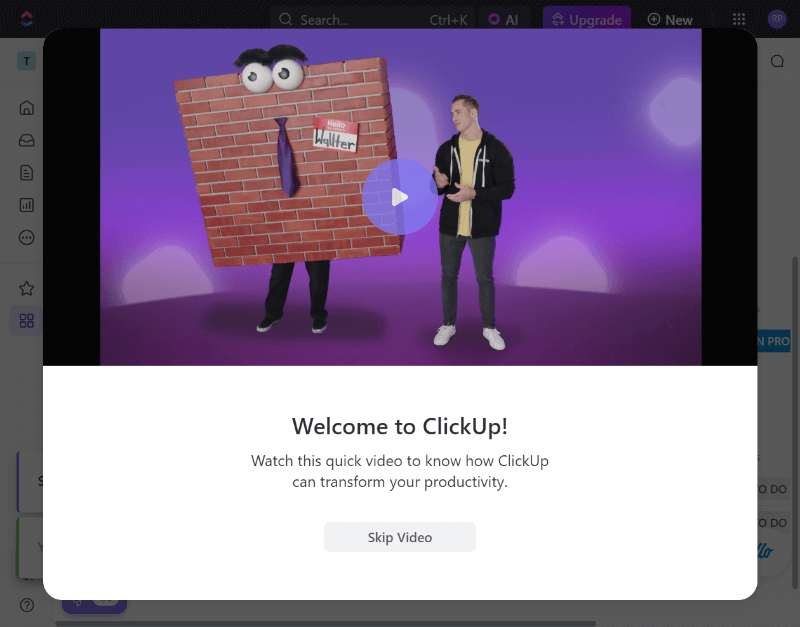
If you want to know about ClickUp visually, you can check the video by clicking on the play button. Users who already know about ClickUp and want to use its features without any delay can click the ‘Skip Video’ button.
Step 6: Finally, Welcome to ClickUp Dashboard
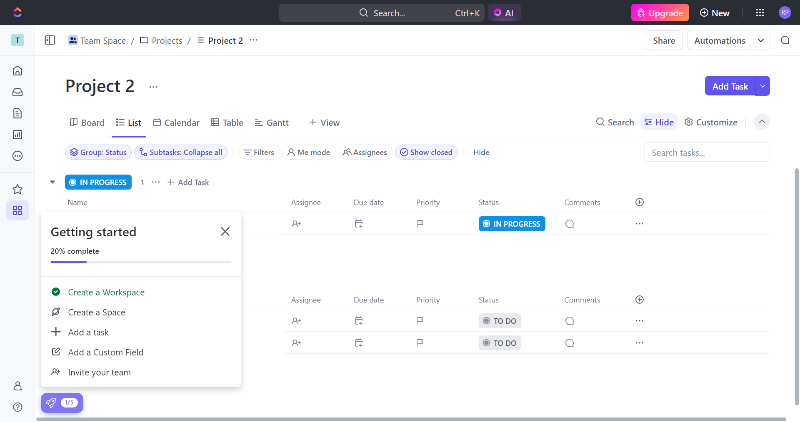
After you complete all the above steps, you will be taken to the dashboard whose first appearance is as shown in the image below.
Create a Task and Assign to Your Team Members in ClickUp?
Now, let’s find out how you can create a task for your project and assign it to your team members for completion. Firstly, we will add a team member to collaborate. After that, create the task and assign it to the team member.
To create a task, you have to go to your workspace created above in the 5th step. After that, create a project for which you want to create a task for your team members.
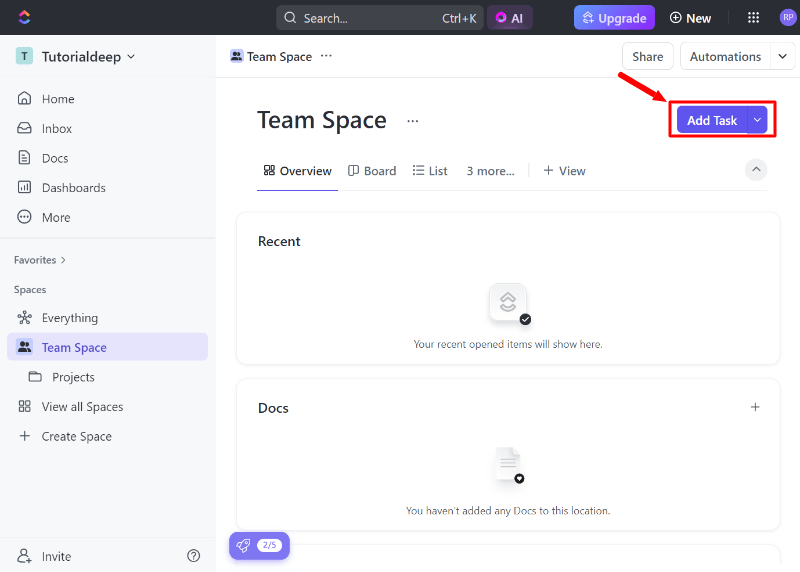
select the project for which you want to create your task. You will get a button ‘Add Task’ as shown below that you have to click.
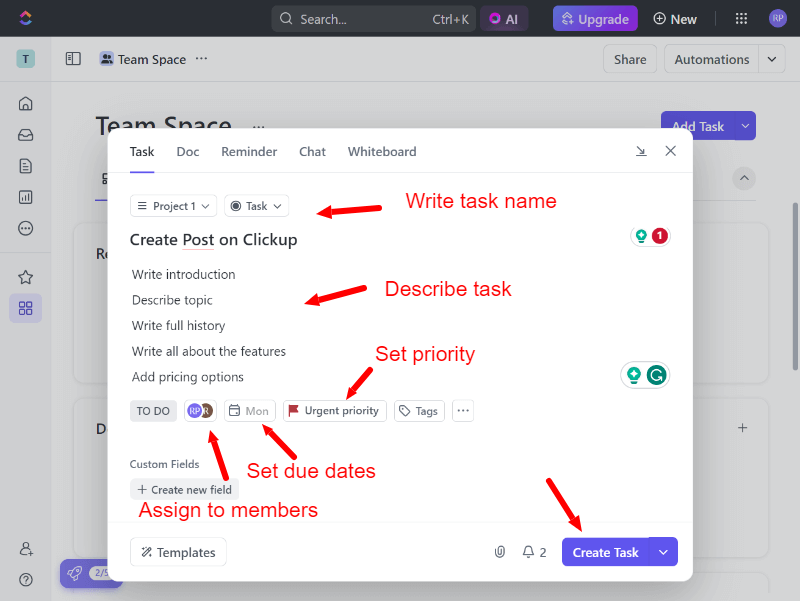
You will get a task creation form where you have to enter the task name, and task description, assign the task to your team members, set a due date to complete the task, and set the priority of the task. Click each part to work with them.
After that, click the ‘Create Task’ button to complete creating a task for your project.
The task will get added and your assigned team member will get an immediate email containing the task details with a due date. So, it’s a very easy process to create and assign a task in ClickUp to improve productivity.
Pricing Options of ClickUp
There are three pricing options for ClickUp as shown in the image below. The first plan is the free plan which is useful to check the interface and features of ClickUp.
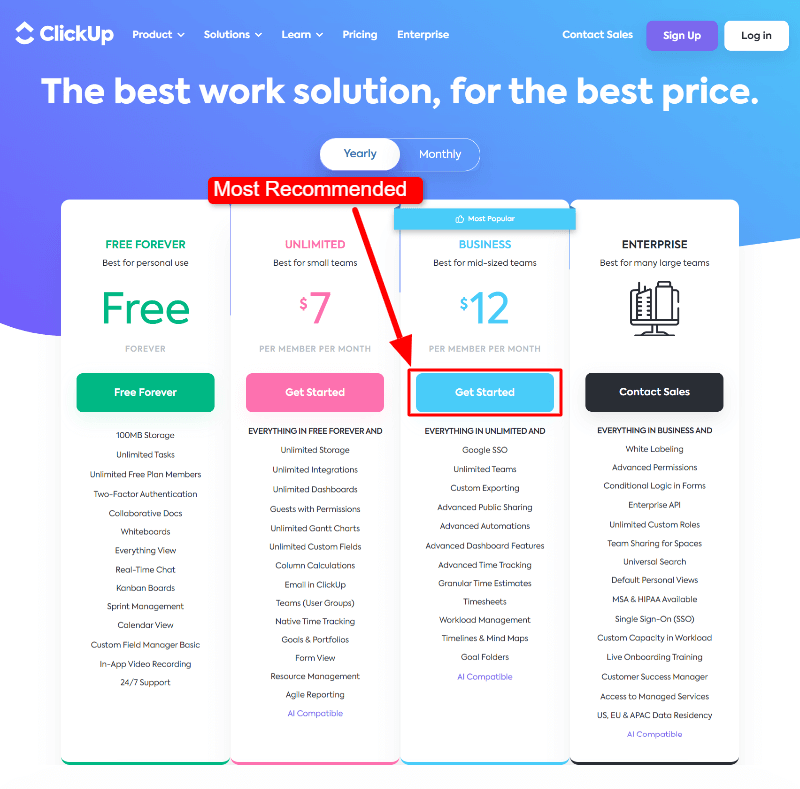
The higher plan comes with more higher features. However, I recommend the ‘BUSINESS’ plan to our readers as it comes with all the essential features to easily improve productivity.
Try ClickUp Now (It’s Free Forever)
