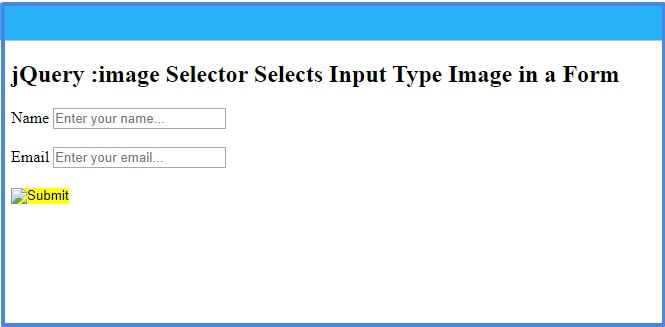
The jQuery :image Selector selects all the input type="image" elements in a form. The input type image defines the submit button as an image. It submits the form when you click on the image. This can be useful when you want to show an image in place of the button to submit forms.
The selector selects the input type form element and applies the CSS and other effects.

Syntax of the Selector
The syntax of jQuery :image selector is given below.
The selector can be used without passing any arguments. However, if you want to select only the required item, you can use the class or id of the element.
jQuery :image Selector Select Input Type Image Element
If you want to submit the form, you can also use the input type image. The jQuery :image selector selects the input type image element inside the form. You can apply the color and other effects to it using this selector.
The below example contains the user input type and the input type image. When you click the image, it submits the form given below.
Example
|
1 2 3 4 5 6 7 8 9 10 11 12 |
<script> $(document).ready(function(){ $( ".mydformimage :image" ).css("background", "yellow"); }); </script> <form action="#" class="mydformimage"> <label>Name</label> <input type="text" name="name" placeholder="Enter your name..."><br><br> <label>Email</label> <input type="email" name="email" placeholder="Enter your email..."><br><br> <input type="image" name="photo"><br><br> </form> |
The above example contains the single input type image element inside the form. The selector selects the image element to add a background color. It applies ‘yellow’ color to highlight the input type="image" element.
If you have any queries regarding this tutorial post, please comment below.
Also tell me, what other methods you are using with the selector by commenting below.
References
