The jQuery :enabled Selector selects all the elements that are enabled in a form. By default, all the elements of a form are in an enabled state. However, when a few elements of a form is disabled. You can highlight only the enabled elements using this selector.

Syntax of the Selector
The syntax of jQuery :enabled selector is given below.
You don’t have to pass any argument to the selector. However, to select a specified form, you can use the class name or id of the form. By doing this, you can select only the required form elements if there are many forms.
jQuery :enabled Selector Selects All Enabled Elements
If you want to select elements that are in an enabled state, you can this selector. There can be many elements that are not enabled. You can highlight only the enabled elements by applying the CSS.
Example
|
1 2 3 4 5 6 7 8 9 10 11 12 |
<script> $(document).ready(function(){ $( ".mydformbtnenabled :enabled" ).css("background", "yellow"); }); </script> <form action="#" class="mydformbtnenabled"> <label>Name</label> <input type="text" name="name" placeholder="Enter your name..."><br><br> <label>Email</label> <input type="email" name="email" placeholder="Enter your email..."><br><br> <button type="button" name="submit">Submit</button> </form> |
Output
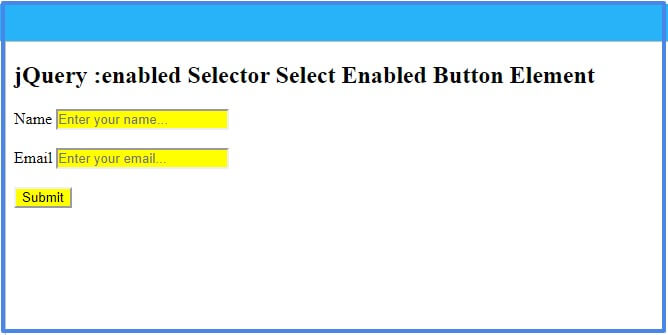
The above example contains all the elements in the enabled form. It highlights the elements by applying the background color to the elements. You can easily identify the highlighted enabled elements above. However, all the elements are in an enabled state that’s why it selects every element.
The above example showing the enabled form elements. It’s an easy way for you to identify each elements with the yellow color.
If you have any queries regarding this tutorial post, please comment below.
Also tell me, what other methods you are using with the selector by commenting below.
References
